

When I think of this car, I will think of how nice it felt to polish this paint, and how the flake looked once I was done - don`t ask me why, but it really got meops: :grin:
I`ve detailed 2 Obsidian Black Subarus, and they were nice, but this was just different.....but we will get to that later.
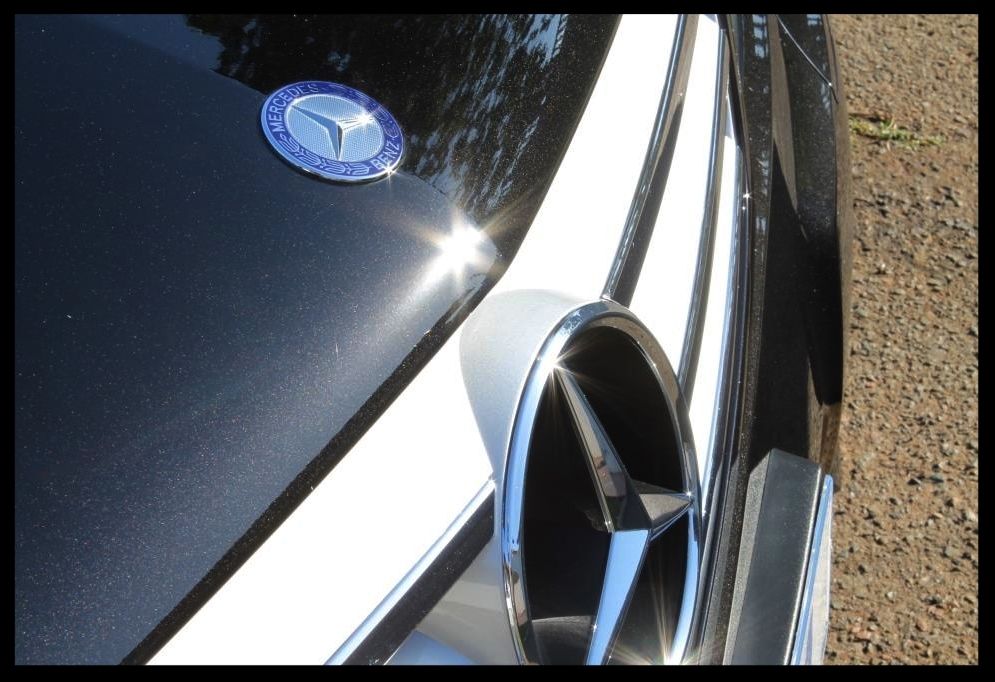
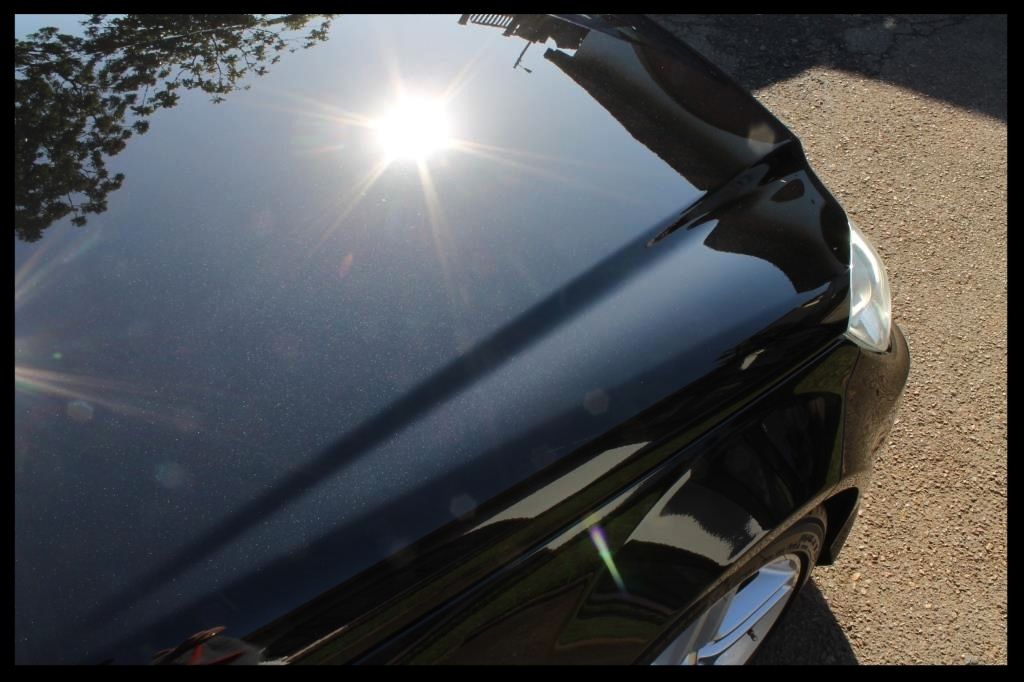
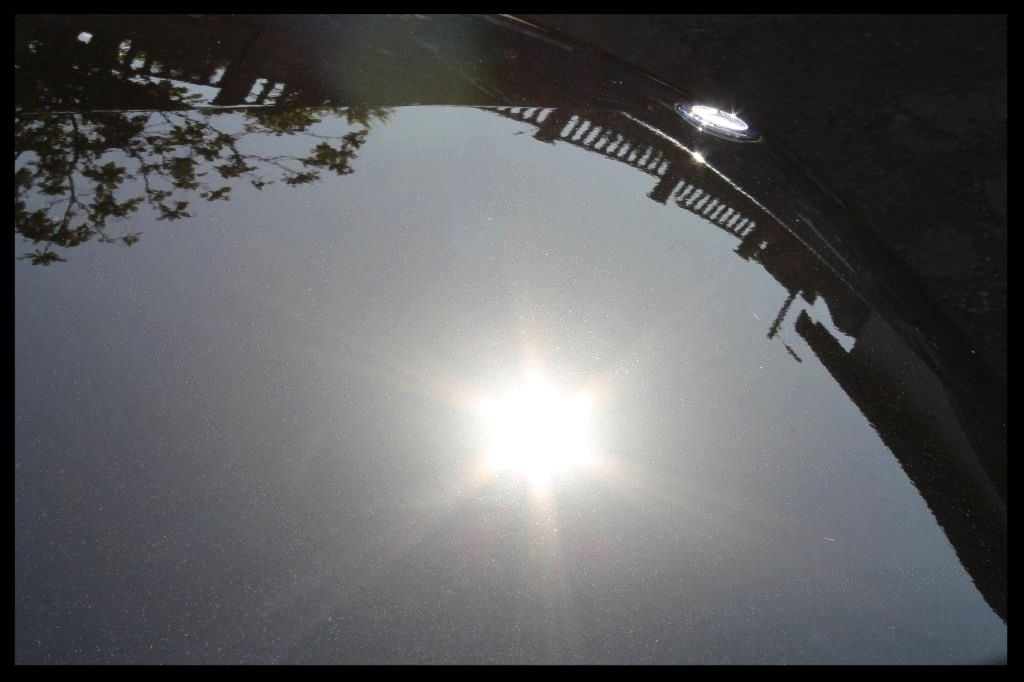
First let me say we had some horrid (for us) weather during the week, so the car was obviously dirty when it arrived, but it also meant that there was no opportunity for any `after` shots of the car itself as it rained pretty much the whole weekend.... the sun did poke its head out momentarily on Sunday while I was still polishing, so there are at least some decent shots of the paint in full sun...
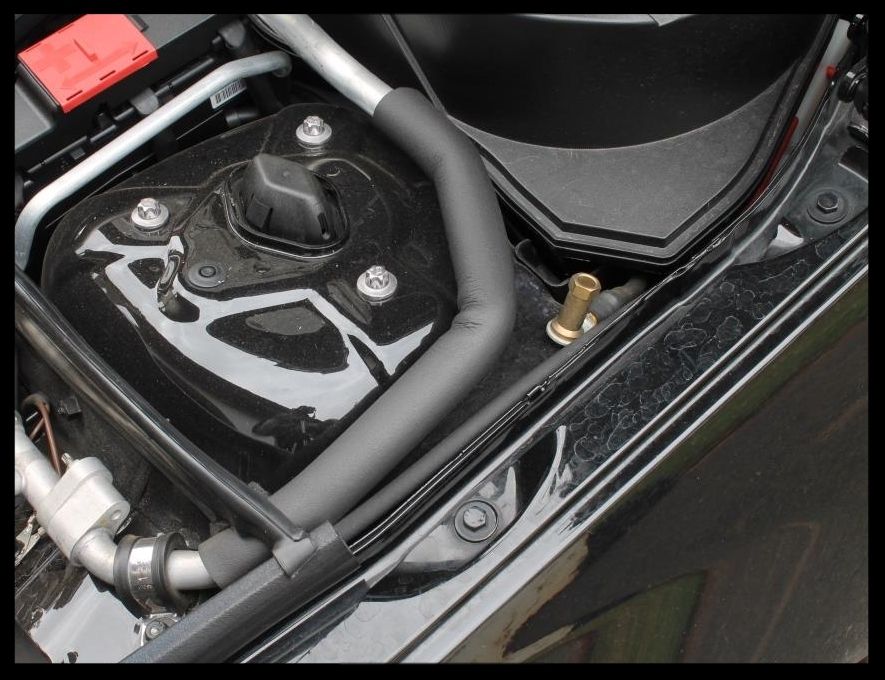
Then engine bay was not overly dirty but unfortunately had some pretty water spots that needed to be polished out
The bay was sprayed with Carchem APC which was left to dwell before being agitated with various brushes and then HP rinse. Later I would polish out the water spots using Menzerna PF2300/Orange LC Hybrid/Flex 3401 before hitting all the painted surfaces to clean/polish/protect them using Autofinesse Tripple by hand using a MF Applicator. It was worked in, left to haze dry and then wiped off with a MF Towel the following day. The bay was then dressed with Autofinesse Dressel and the rubbers cleaned using Shield Heavy Duty Vinyl and Rubber cleaner and dressed with Aerospace 303.
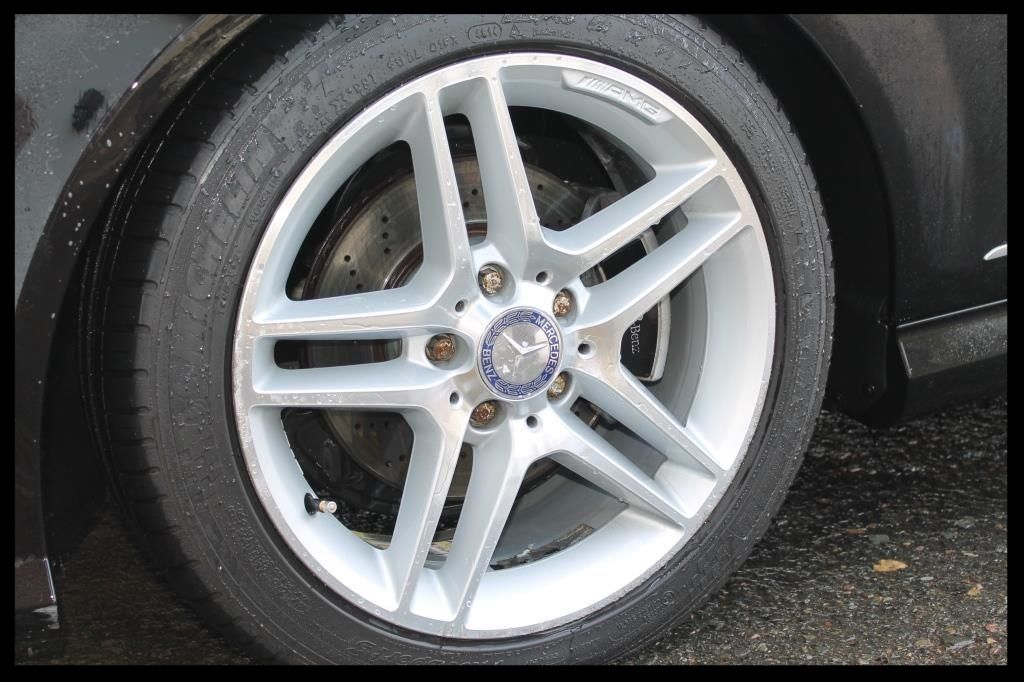
Next up was the wheel wells, tires, wheels and brake calipers.
The approach was to HP rinse, spray Carchem APC into the wheel well and on to the tire. Agitate the wells with a Mothers Fender Well Brush and the tires with a Mothers Tire Brush, then HP rinse. Apply Valet Pro Billberry to the barrels and wheel faces , let it dwell, agitate with a Daytona (the big and small) and a Valet Pro Boars Hair Brush. HP rinse. Use Valet Pro Citrus Tar Remover to remove the tar spots on the faces and barrels then apply some APC to the wheels, let it dwell and HP rinse to remove any remaining tar remover residue. Then apply Valet Pro Dragon`s Breath, let it dwell, agitate, HP rinse.
Before
After
Later on Saturday the tires would be dressed with a coat of Optimum Tire Shine followed by one on Sunday
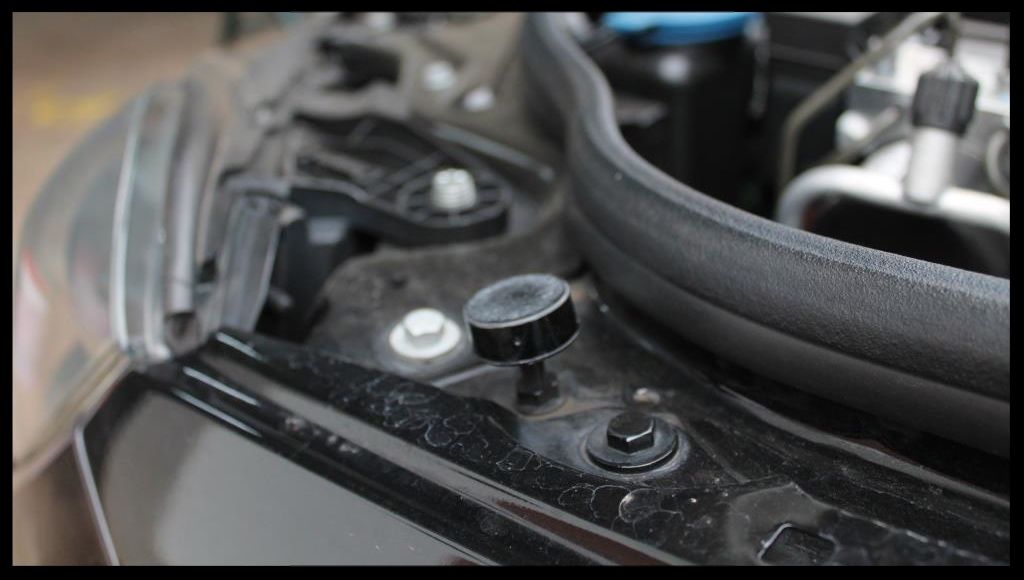
I then moved on to the door shuts which weren`t looking so great
They were cleaned using Carchem APC which was sprayed on via a foaming trigger bottle, left to dwell and agitated with a VP boar hair brush. On Sunday morning they would be cleaned/polished/protected using Autofinesse Tripple by hand using a MF Applicator. It was worked in, left to haze dry and then wiped off with a MF Towel that evening.
This is what they looked like at that point
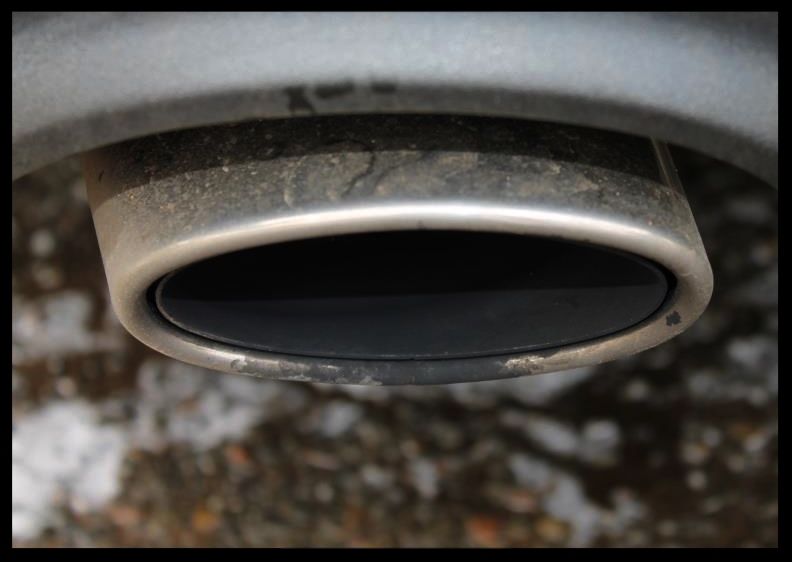
The exhaust tip was the last part of the `dirty` work I did before moving on to washing the car itself.
On Sunday it would be polished using Meguiars NXT All Metal Polish and various MF pads and towels.
So, the car itself....the whole outside pretty much looked like this
The first step was to thoroughly HP rinse the car to try and remove as much dirt as possible. If it isn`t on the car when you are rubbing your wash mitt over the paint, it can`t scratch the paint.
This was then followed by a full foaming using Gyeon Q2M Foam which was left to dwell and this was followed by another HP rinse. Then I sprayed Valet Pro Citrus Prewash through a pump sprayer, let that sit on the paint for around 5 minutes and HP rinsed that off. I then did a 2 bucket wash using 4 Lambswool wash mitts, and CarChem`s Luxury Shampoo. The vehicle was then flood rinsed, sprayed with ONR at QD dilution as a drying aid and dried using 3 x waffle weave drying towels. The paint was then fully decontaminated using Valet Pro Citrus Tar Remover, Valet Pro Dragons Breath - which was sprayed on, left to dwell, covered with Gyeon Foam to extend the working time, before being HP rinsed off and then then clayed using Shield Heavy Duty Clay with ONR as lube.
With the paint ready for polishing took paint readings which were all around 120µ to 140µ and taped up some areas for test spots.
Firstly let me say that the combination of Menzerna polish on Mercedes paint, with the Flex and the Hybrid pads just felt so right together - every minute behind the polisher was so enjoyable.
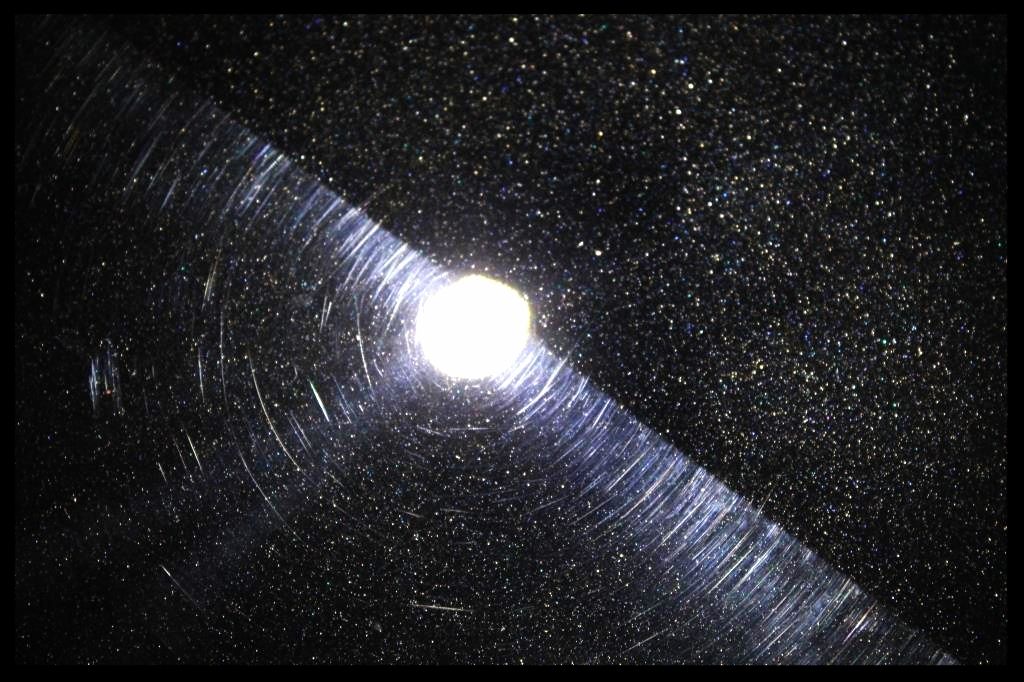
This was the test spot of FG400 on a Orange LC Hybrid - results were checked using Menzerna Top Inspection
For a lot of people this would be considered LSP ready - not bad for what is considered a cutting compound and not a finishing polish. Of course, I knew there was more gloss to be had by refining out the ever so slight haze created by this combo, and so naturally followed it with SF4000 on a Black LC Hbrid.
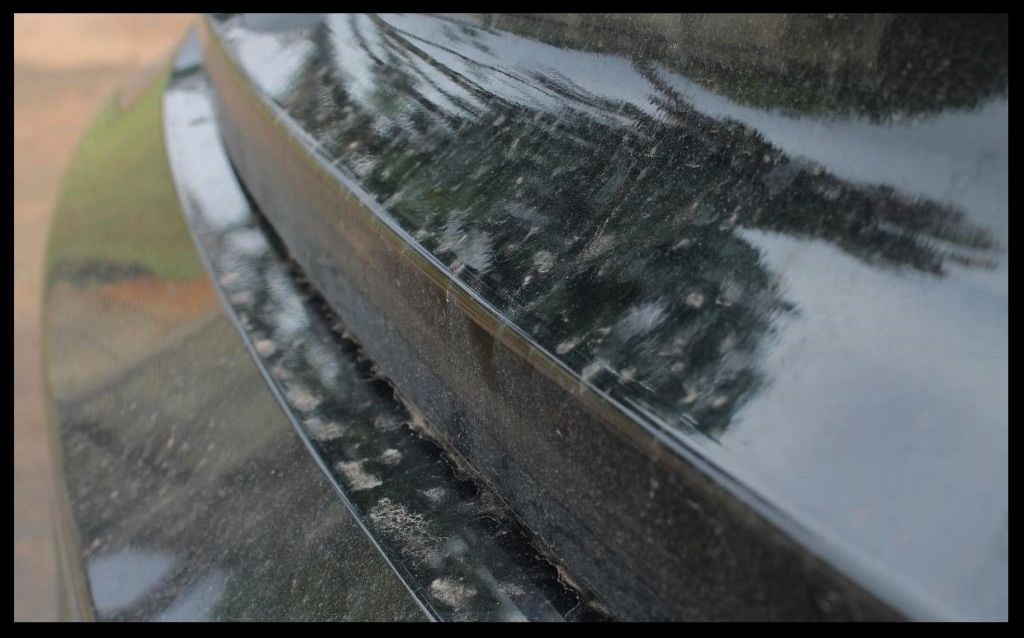
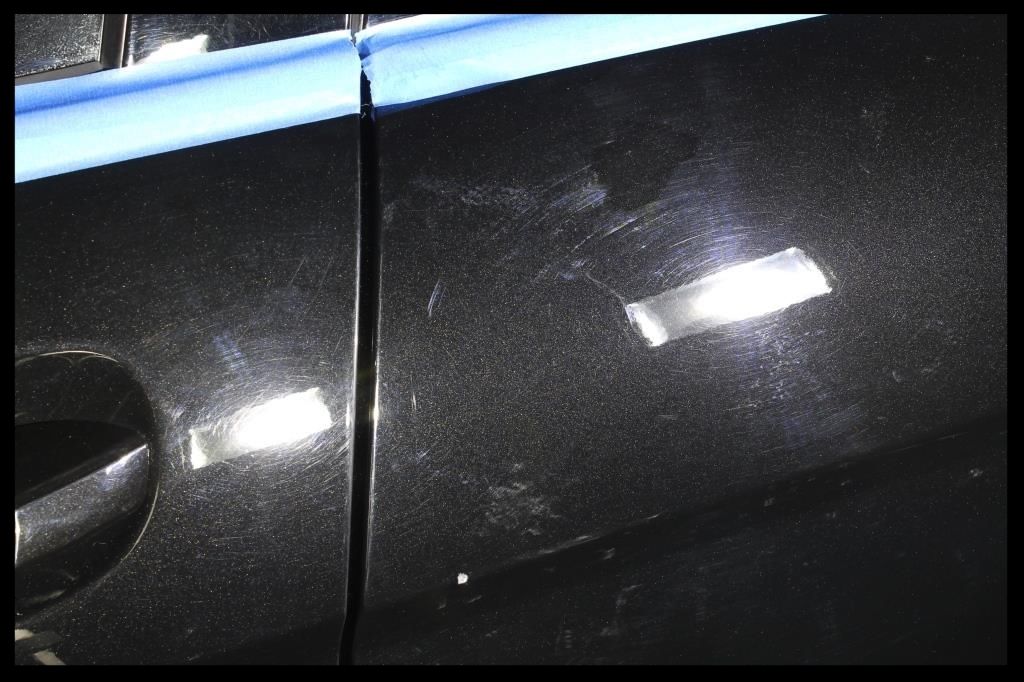
Here is a section of the car before correction
After
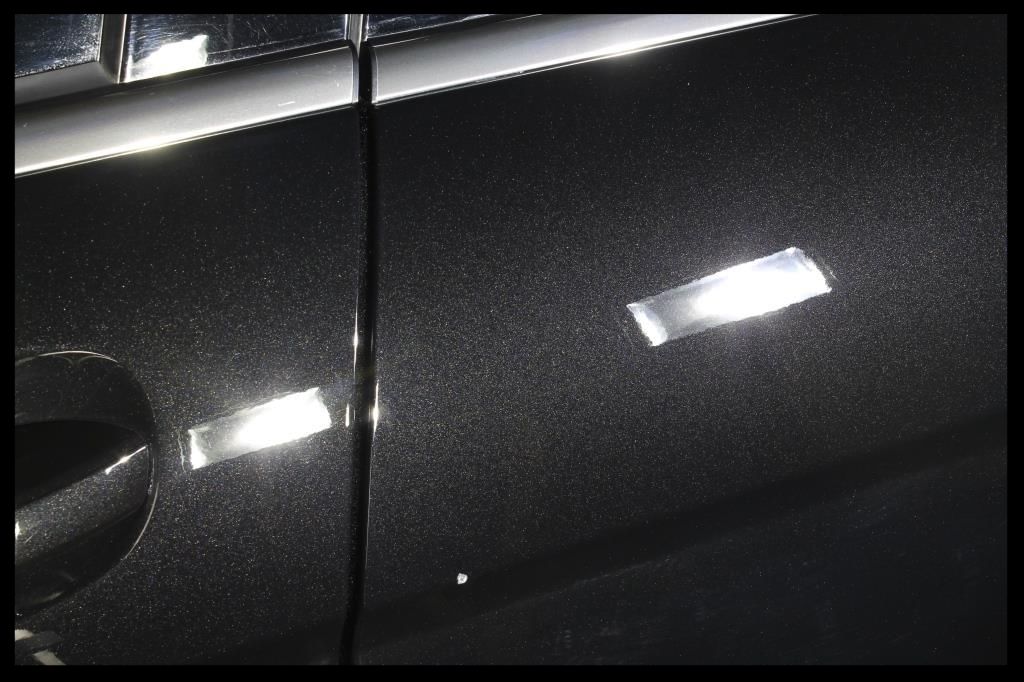
Here is the other side of the car
If you look carefully around the right hand side light there are still some imperfections in the paint.... there were a few deeper marks like this that were not worth chasing.
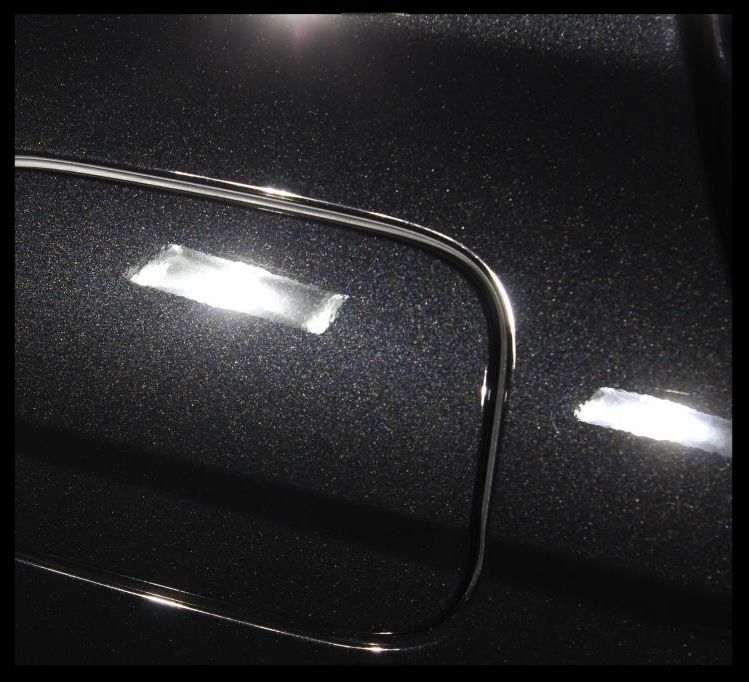
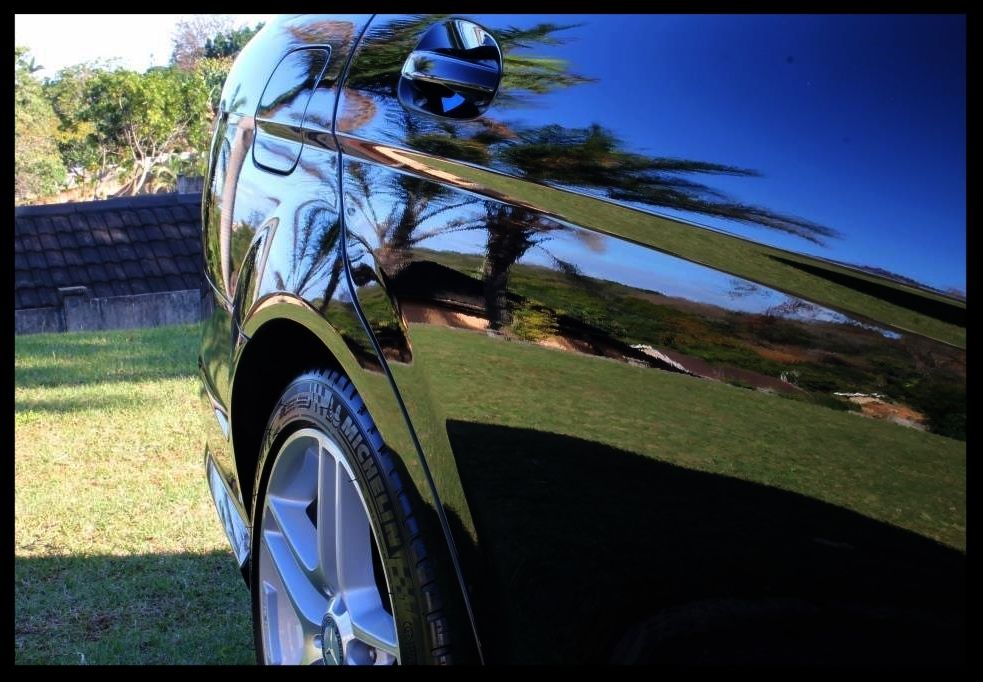
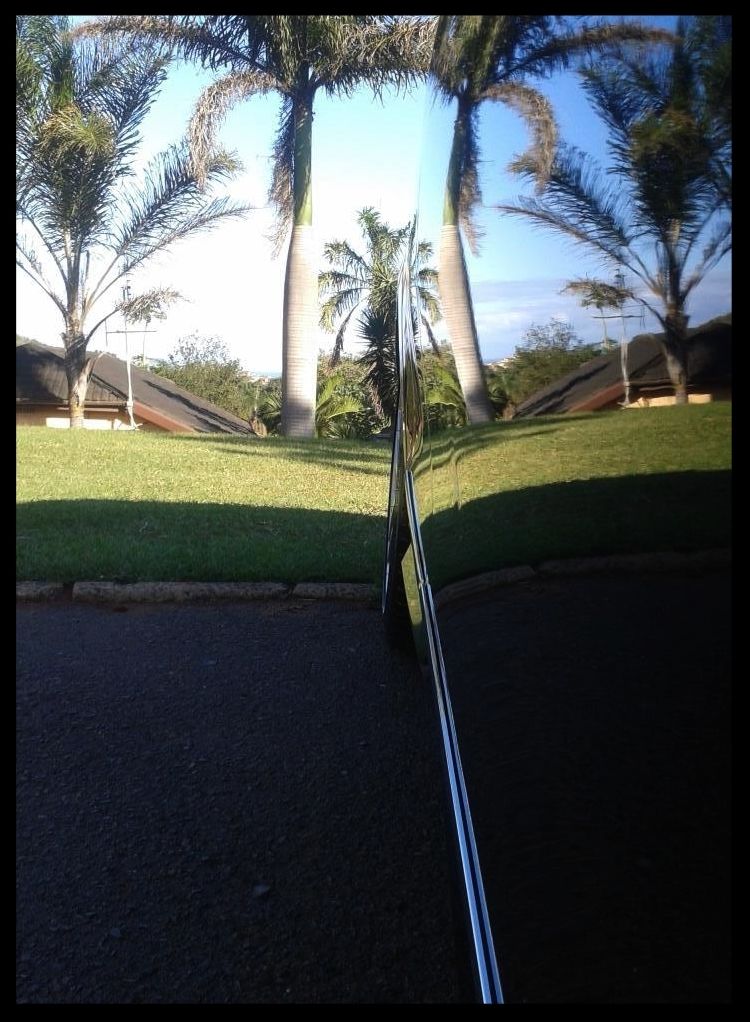
Some reflection shots from inside the garage
From the other side
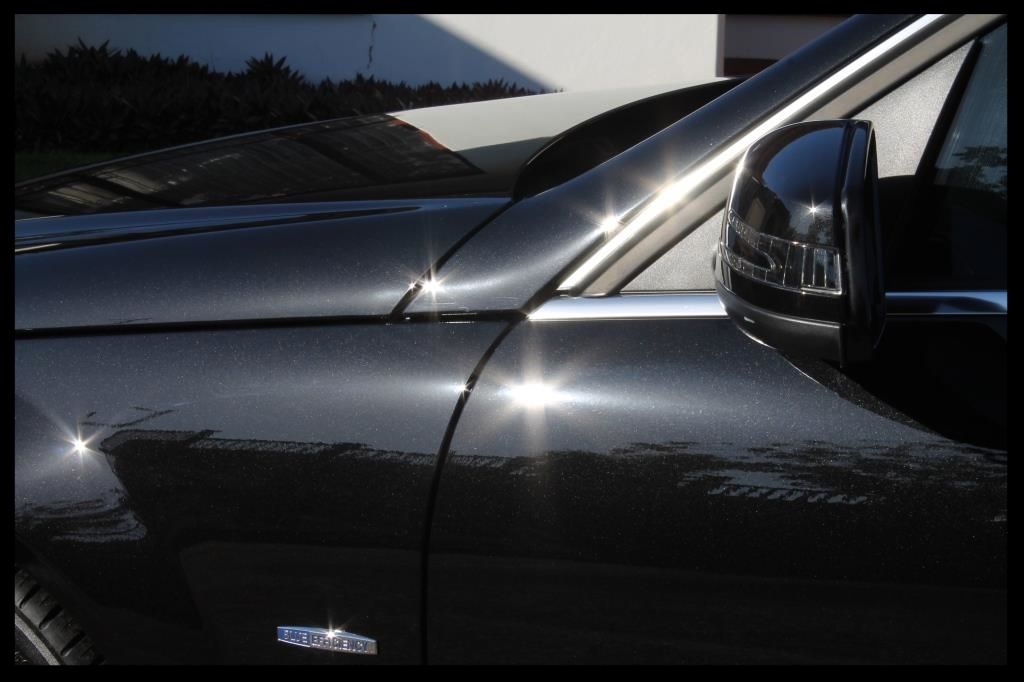
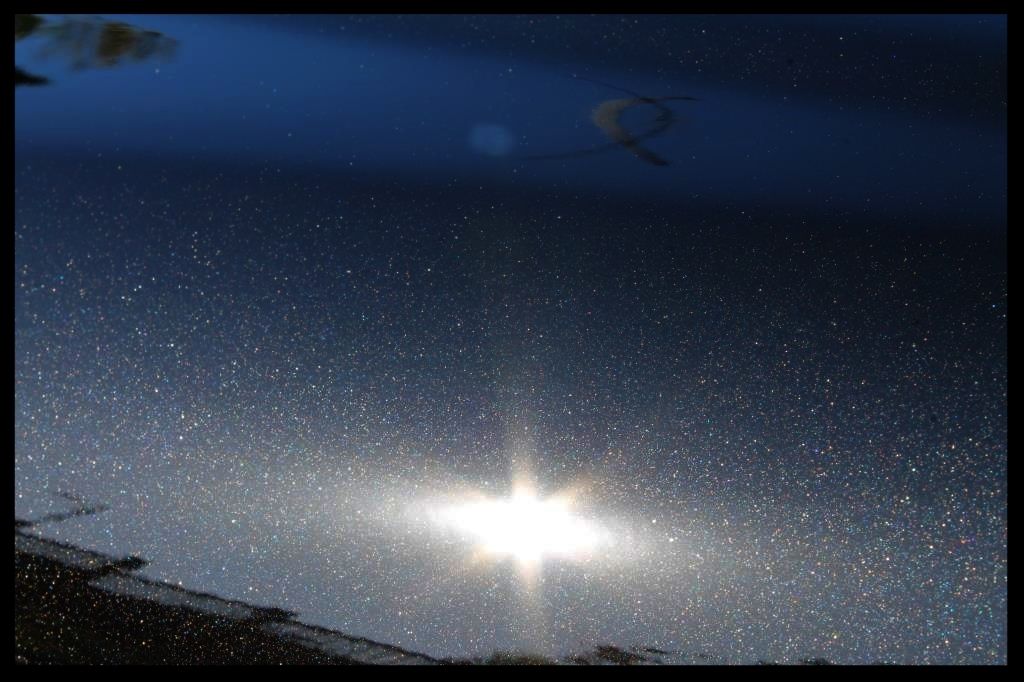
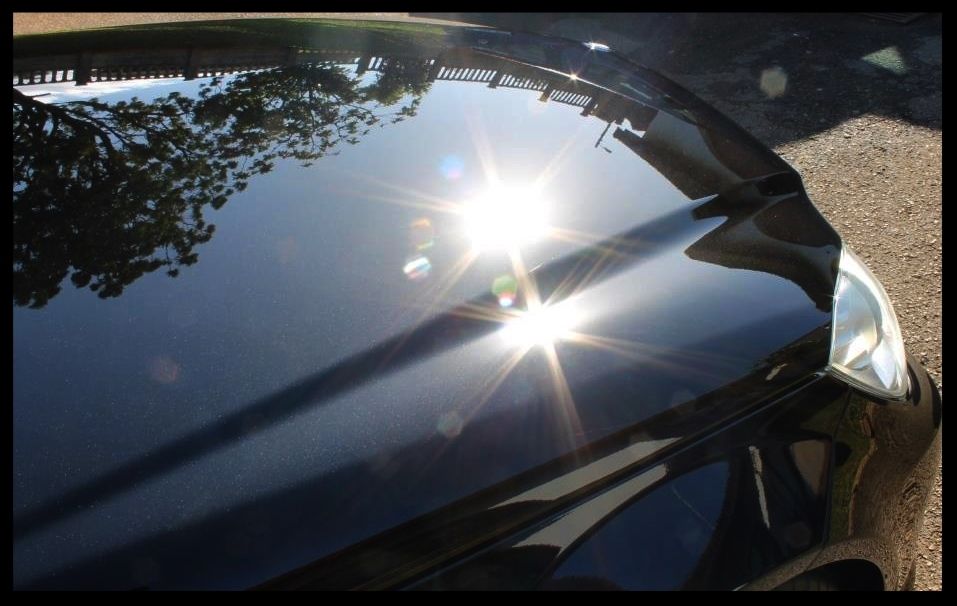
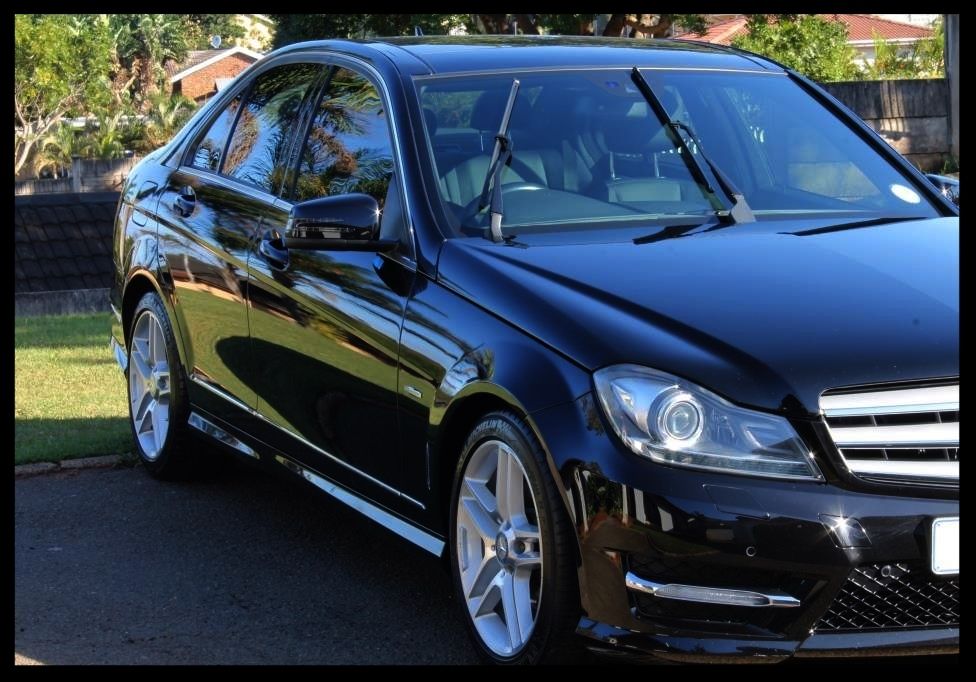
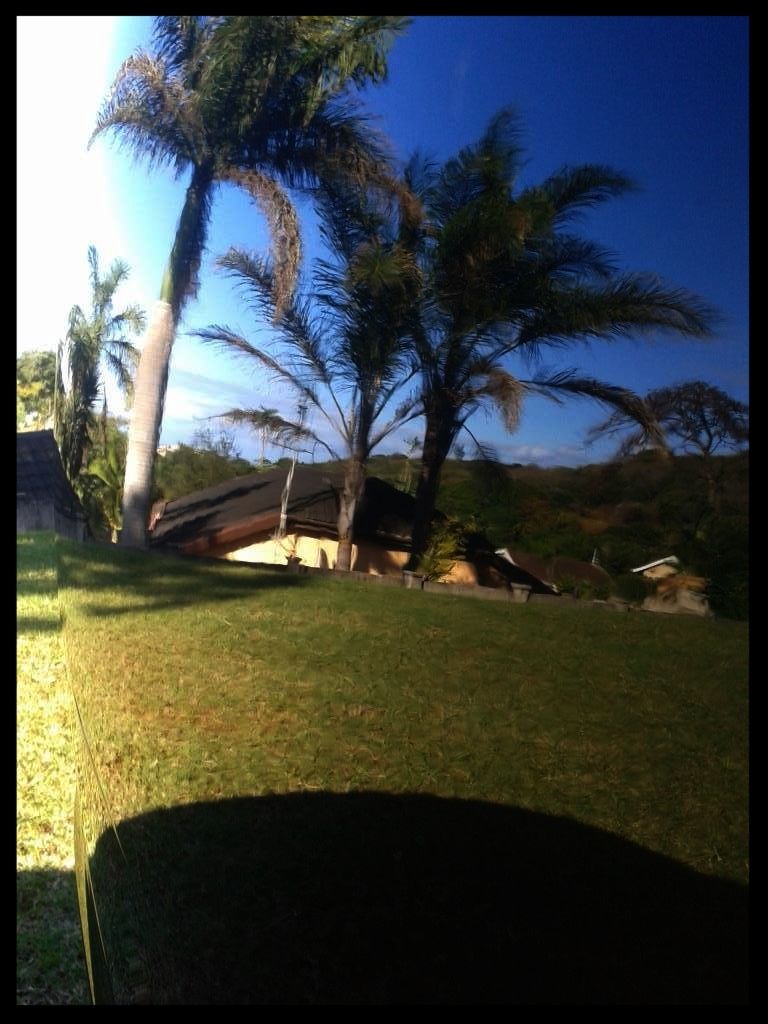
Then the sun popped in to say hi, so I quickly took the car outside and snapped these.
In the above pic you can again see some deeper scratches at the bottom of the A pillar
Here is the same passenger rear door that is in the before/after pic above, now with the sun shining on it.... you can see the top portion is corrected and I still needed to get to the bottom section (which has a little piece of blue tape as a reminder)
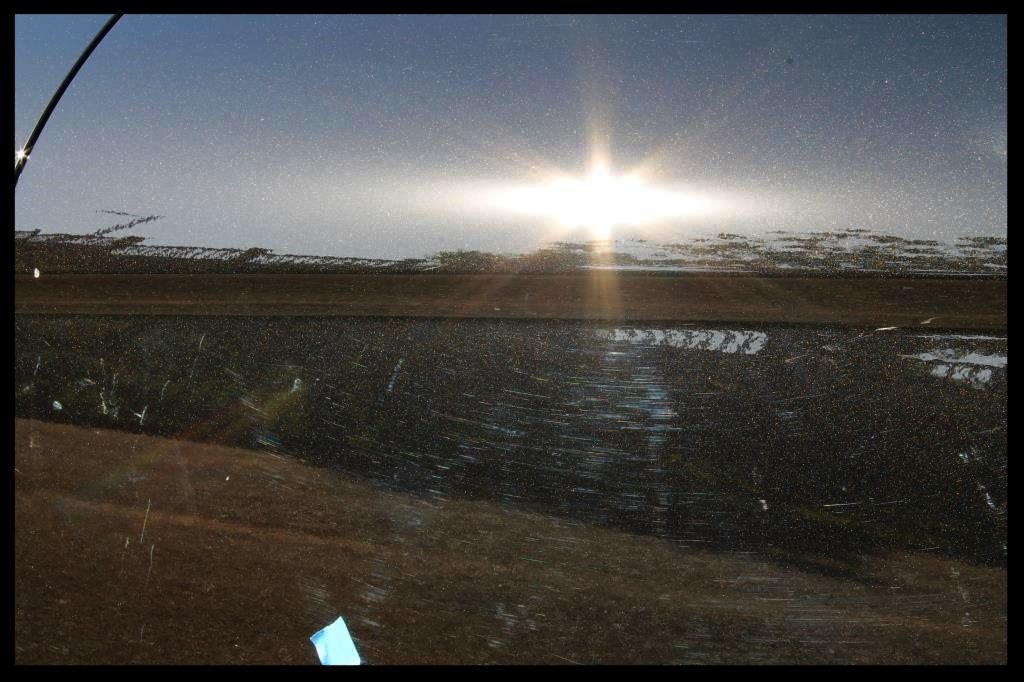
A shot with my cell
Then I moved to the shaded side of the car, which at that point had only been compounded and not final polished....
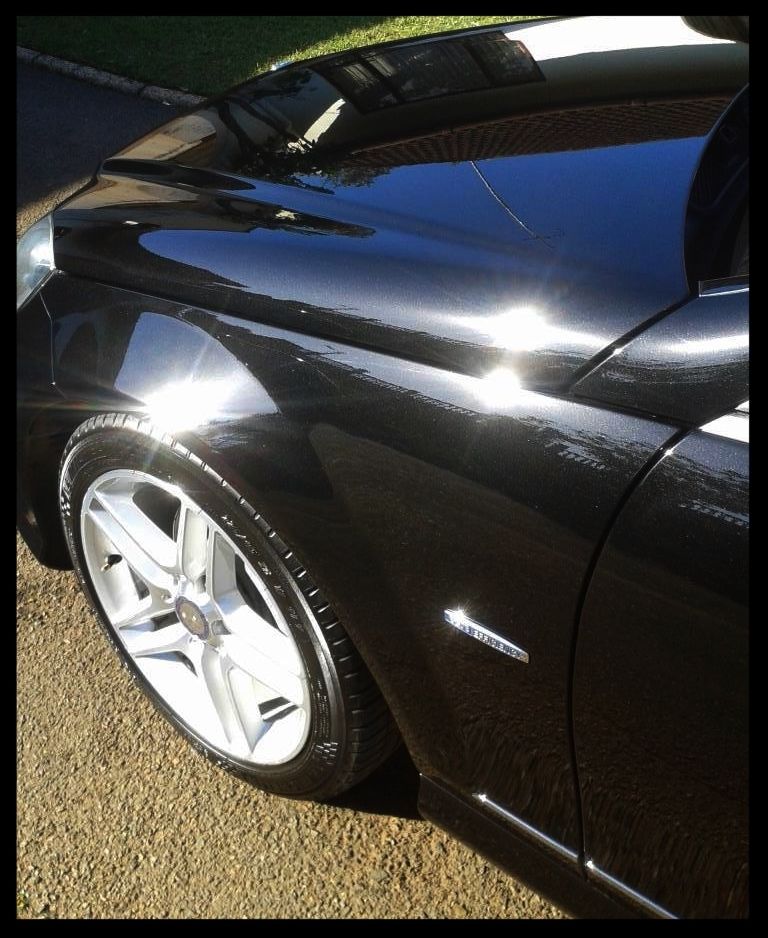
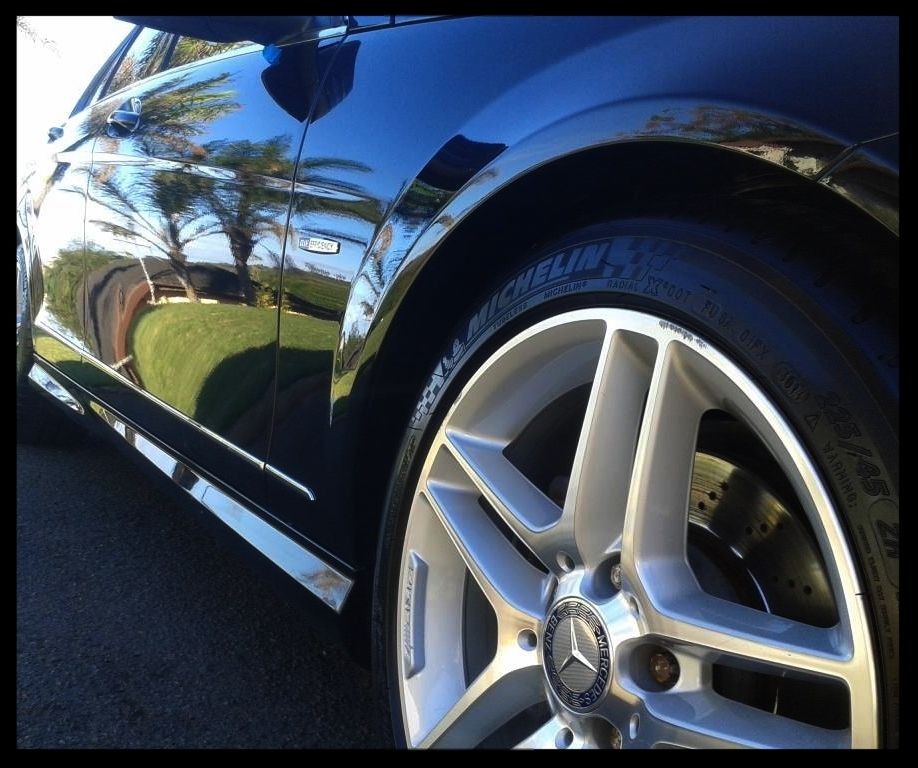
Some cell shots
Then it was back inside to wrap up the paint correction.
The car was then wiped down with Gyeon Prep and sealed with Menzerna Powerlock. This was left on for a few hours while I finished up the rest of the detail, and wiped off late Sunday evening allowing it a solid 16 hours to cure before the owner picked the car up and potentially exposed it to any rain.
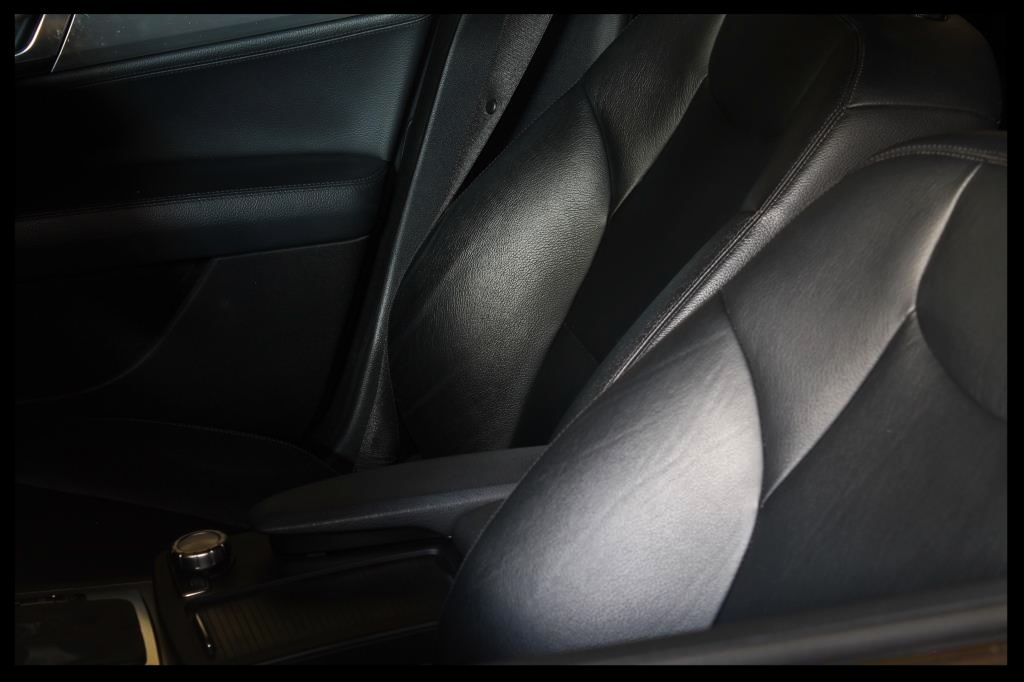
I then moved onto the interior, which looked like this
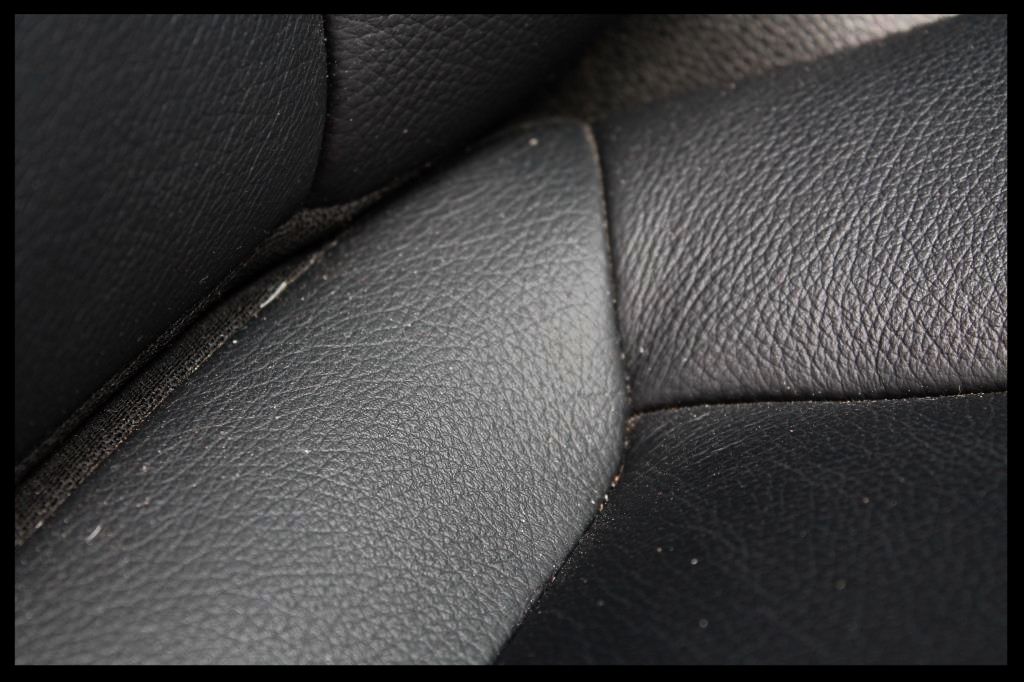
The vents and dash were brushed out and interior was blown free of loose dust, the mats removed and vacuumed using a Flex vacuum cleaner. The leather was cleaned using Carchem APC and a various brushes and MF Towels. This shot shows how shiny (read dirty) the uncleaned (back of the pic) seat is in comparison to the cleaned seat.
The leather would then be protected using Collinite #855 Leather and Vinyl Wax.
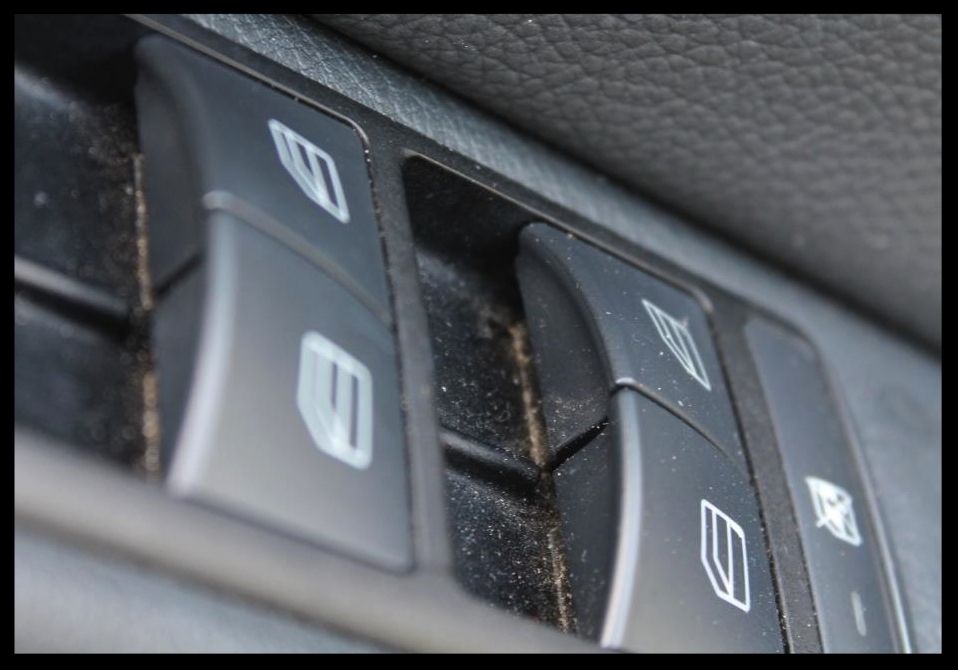
The plastics were cleaned using Carchem APC and then given a final wipe using Autofinesse Spritz. The door rubbers were cleaned using Shield Heavy Duty Vinyl and Rubber cleaner and protected using Aerospace 303. Then the interior was vacuumed. Then the glass was cleaned using Glossworx Glass Cleaner
I finished up rather late on Sunday night and had no opportunity for any further shots as the owner came to collect as soon as I got home on Monday evening.
Total time spent = 35 hours.
As always, and questions or comments are welcome.
:hi:
Results 1 to 5 of 5
-
07-29-2015, 02:03 PM #1


- Join Date
- Dec 2013
- Location
- Durban, South Africa
- Posts
- 277
- Post Thanks / Like

Obsidian Black Mercedes C200 - Detailed by Lawrence
Post Thanks / Like - 1 Likes, 0 Thanks, 0 Dislikes 4u2nvinmtl liked this post
-
07-29-2015, 02:10 PM #2Super Moderator


- Join Date
- Dec 2001
- Location
- Middletown, Delaware
- Posts
- 13,582
- Post Thanks / Like
Re: Obsidian Black Mercedes C200 - Detailed by Lawrence
Excellent work

-
07-29-2015, 02:24 PM #3

- Join Date
- Jul 2011
- Location
- Land O Lakes, FL
- Posts
- 5,395
- Post Thanks / Like
Re: Obsidian Black Mercedes C200 - Detailed by Lawrence
very nice !
-
07-30-2015, 12:10 AM #4

- Join Date
- Feb 2013
- Location
- Orange County, CA
- Posts
- 302
- Post Thanks / Like
Re: Obsidian Black Mercedes C200 - Detailed by Lawrence
Looks really good. Great work.
-
07-30-2015, 01:08 AM #5
- Join Date
- Dec 2013
- Location
- Durban, South Africa
- Posts
- 277
- Post Thanks / Like
Re: Obsidian Black Mercedes C200 - Detailed by Lawrence
Thanks guys - appreciate the kind words


 Reply With Quote
Thread Information
Users Browsing this Thread
There are currently 1 users browsing this thread. (0 members and 1 guests)
Similar Threads
-
Jet Black E46 BMW M3 - Detailed by Lawrence
By LawrenceSA in forum Click & Brag -The Detailers ShowcaseReplies: 6Last Post: 05-04-2014, 10:15 AM -
Another Obsidian Black Subaru - Detailed by Lawrence
By LawrenceSA in forum Click & Brag -The Detailers ShowcaseReplies: 4Last Post: 03-25-2014, 03:20 AM -
Detailed my 2005 obsidian black pearl subaru WRX wagon this past weekend...
By ADIDAS in forum Car DetailingReplies: 1Last Post: 09-30-2008, 06:17 PM -
1999 Mercedes C280 Obsidian Black
By 300B in forum Click & Brag -The Detailers ShowcaseReplies: 5Last Post: 09-10-2007, 05:53 AM -
1999 Mercedes C280 Obsidian Black
By 300B in forum Click & Brag -The Detailers ShowcaseReplies: 0Last Post: 09-08-2007, 09:23 PM
Tags for this Thread
Posting Permissions
All times are GMT -5. The time now is 05:50 PM.
 Copyright ©, 2002-2015, Autopia Forum - All Rights Reserved
4.2.2
Sponsored by Autopia-CarCare.com
Bookmarks