

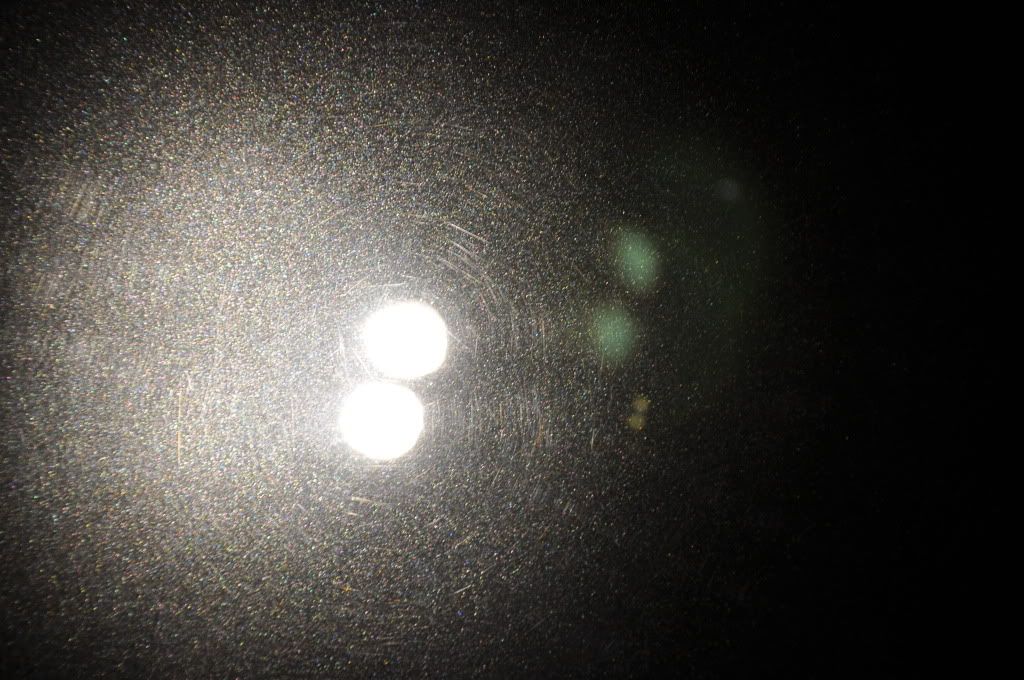
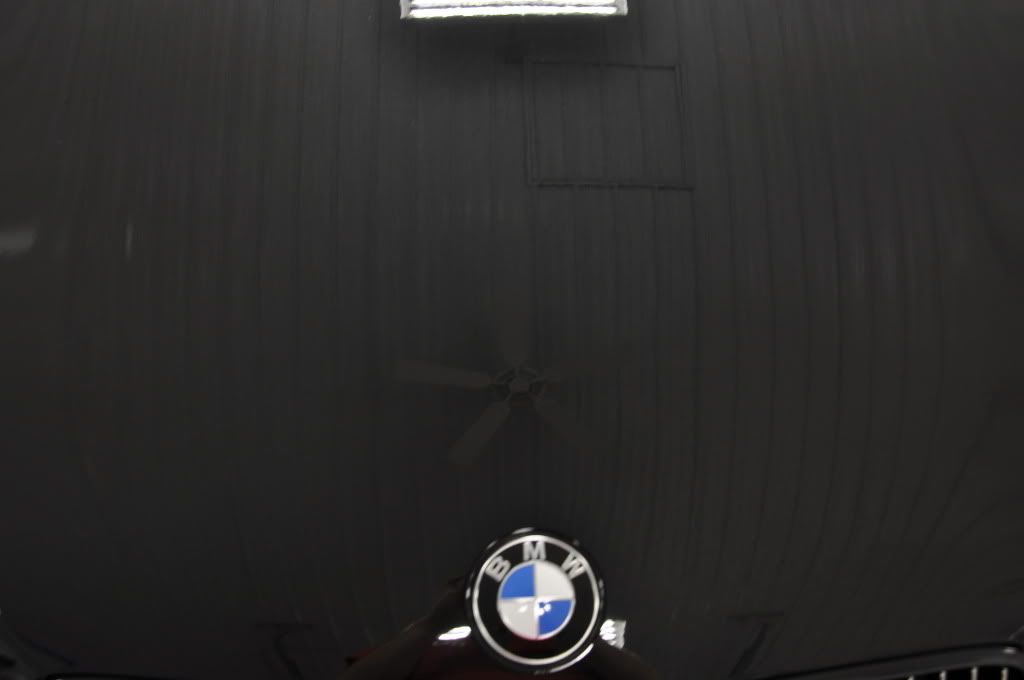
This detail was on a Black Metallic BMW 335si which belongs to one of my regular clients. He just had it shipped back from California. When I first looked at the car it was covered in pollen. He asked me to clean it up and check the paint to see if it needed any correction. Pollen can be extremely dangerous for your paint if it is not removed correctly. Pollen has a hard and very strong outer shell the help protect it while it is on its journey, it also has microscopic barbs which help it adhere to just about anything. These barbs make it stick to paint do it is not going to just blow off while you drive down the road. Along with being abrasive pollen can be acidic which will eat at your paint when mixed with water. The first mistake people make when removing pollen is thinking that they can just dust it off of the car. This is the worst thing to do. When you drag a microfiber or duster across the paint it is just going to grind the pollen into your clean coat resulting in thousands of tiny swirls marks. It only takes one time of doing this to completely ruin a paint job. Here are some before pictures.
Knowing this I started by completely soaking the car with Chemical Guys Wash and Gloss using a foam gun. The soap will help break the pollen away from the cars surface while also giving the surface some lubrication so the pollen can slide down off of the car. I soaked the car once and then rinsed it off with a hose to get most of the pollen off. I then soaked the car again and began to wash. Of course I used my 2 bucket was system with 2 grit guards in each bucket.
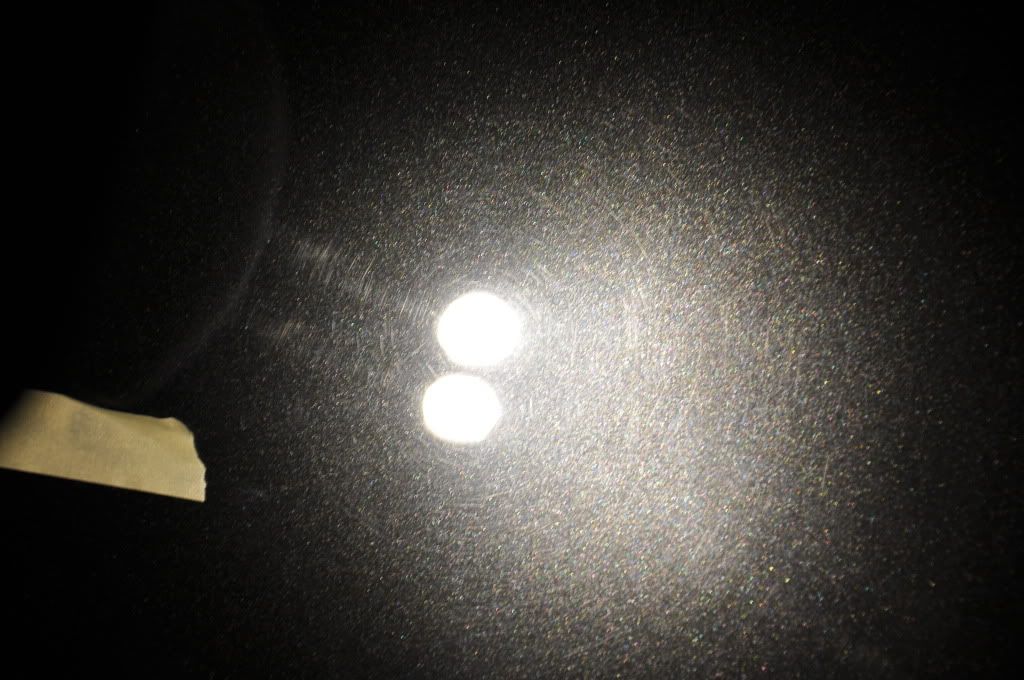
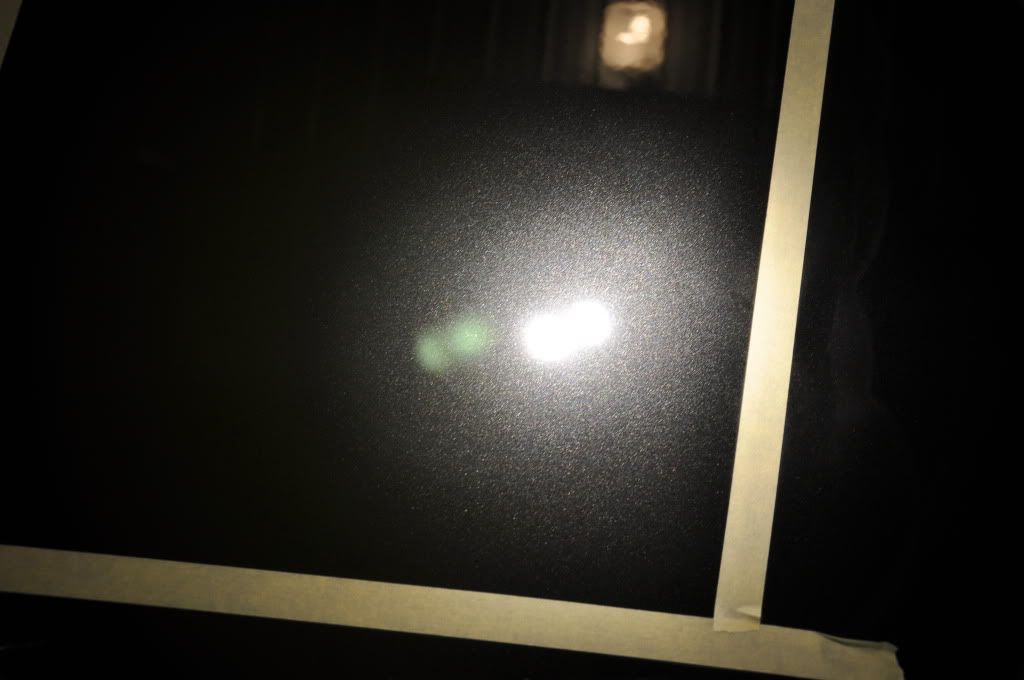
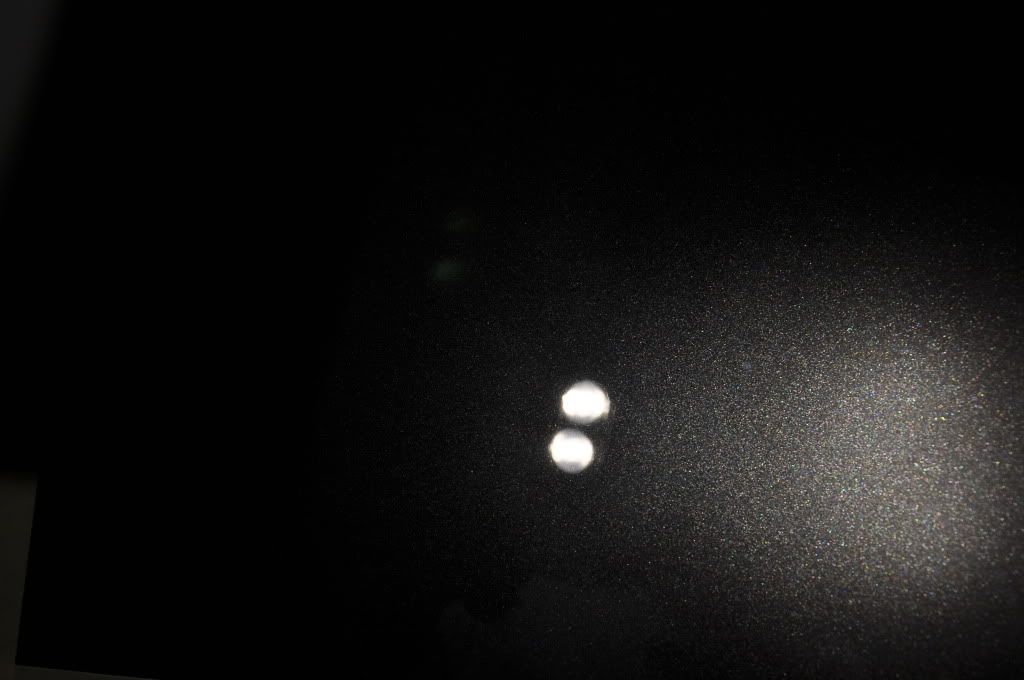
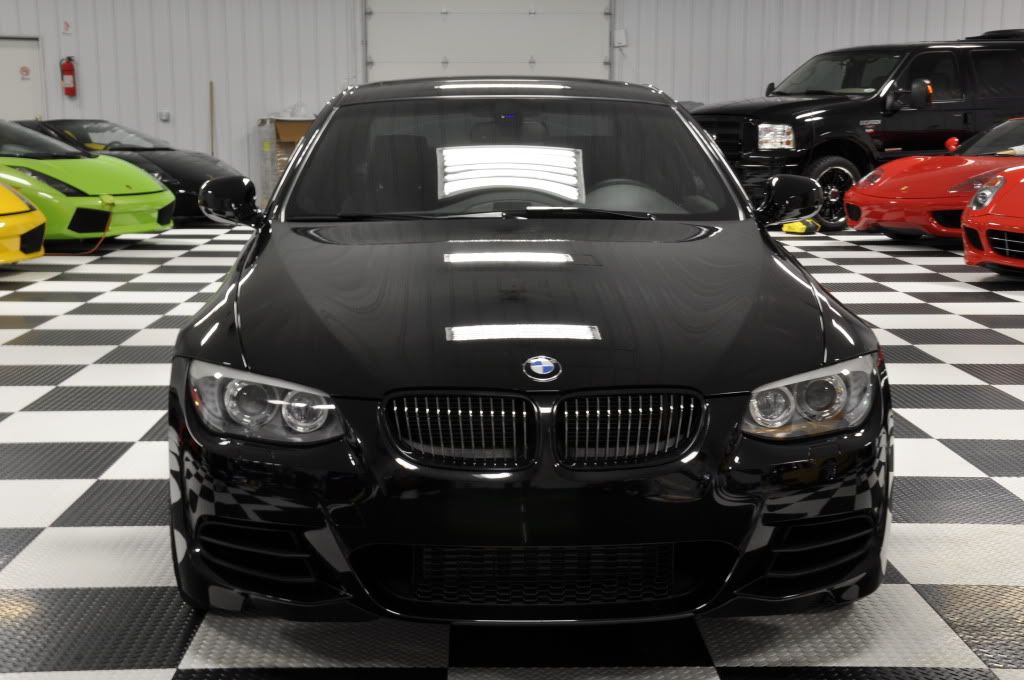
Once I got done washing the car I got my Brinkman Light out to look at the paint. Right off I noticed lots of swirls in the paint. I knew I would have to do some paint correction so I started off by clay baring the whole car using DODO JUICE Born Slippery as a lubricant. Then I taped off a section of the hood and started to see what pad and compound combo would get the most defects out while still finishing down nice. I started with a white pad and some M105. It got a lot of the swirls out but was no close to being perfect. I then moved up to a orange pad and some M105. This combination took out all of the swirls but left some deeper marks most likely from drying with an abrasive towel. They were really long and straight marks. I then moved up to a surbuf pad and M105. This is an extremely aggressive combination even when using a PC. This combination still did not take out the deeper scratches. I was puzzled at this point and figured most of these would have to be wet sanded to get a 100 percentage correction. I even called one of my mentors Todd Cooperider and ask him about the situation. He said he had the same problem with a M5 of the same color. He explained that the paint is extremely hard and just to do the best that I could. After talking to Todd I called DJ Mayo from Virginia to ask him since they call him the BMW Mater. He also said just do what I can and try not to chase every little defect or I would drive myself crazy. Even though I could see the defects in the paint they were extremely hard to see because of the color. I figured once I got done I probably wouldnât even be able to see them. I notified my client I would only be able to get an 85 percent correction and that there would still be some deeper defects left behind, which he was ok with. So I taped up the rest of the car cranked up some music and got down to business.
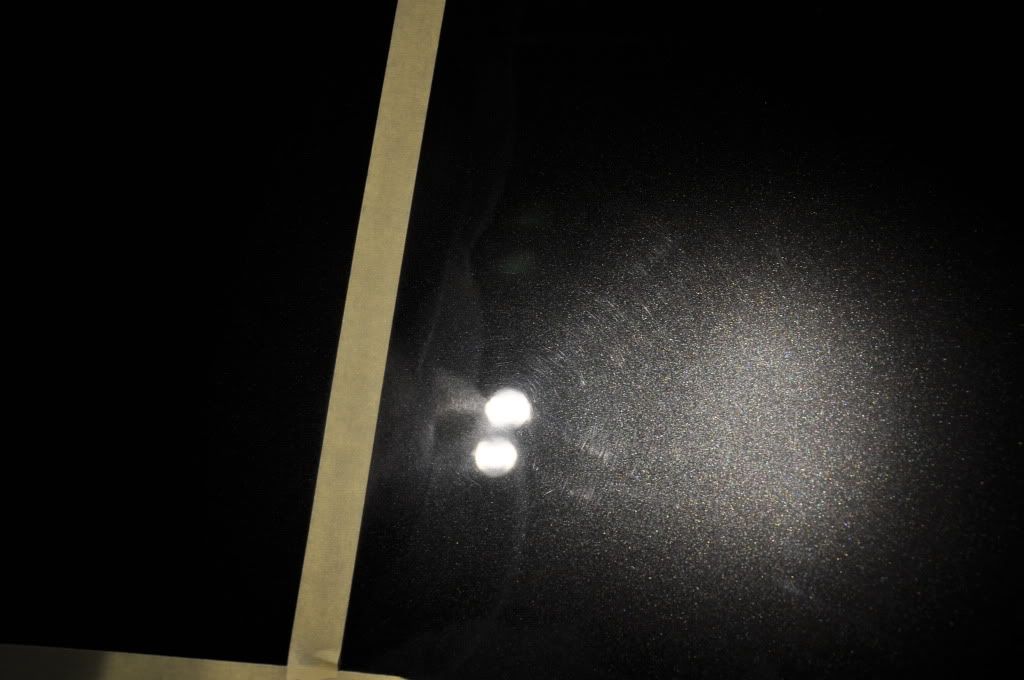
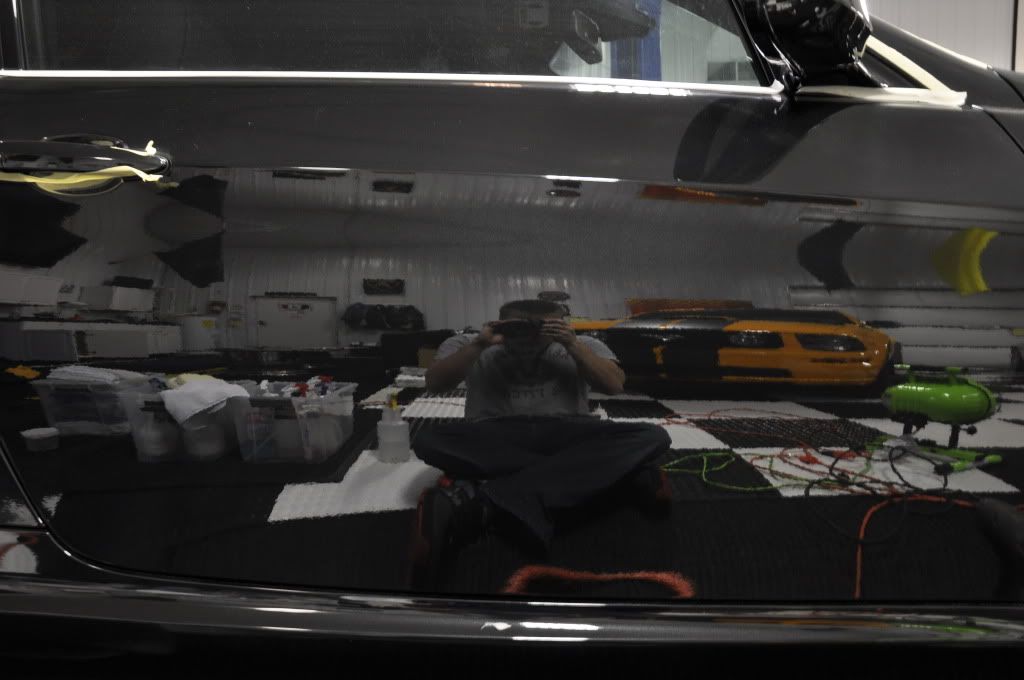
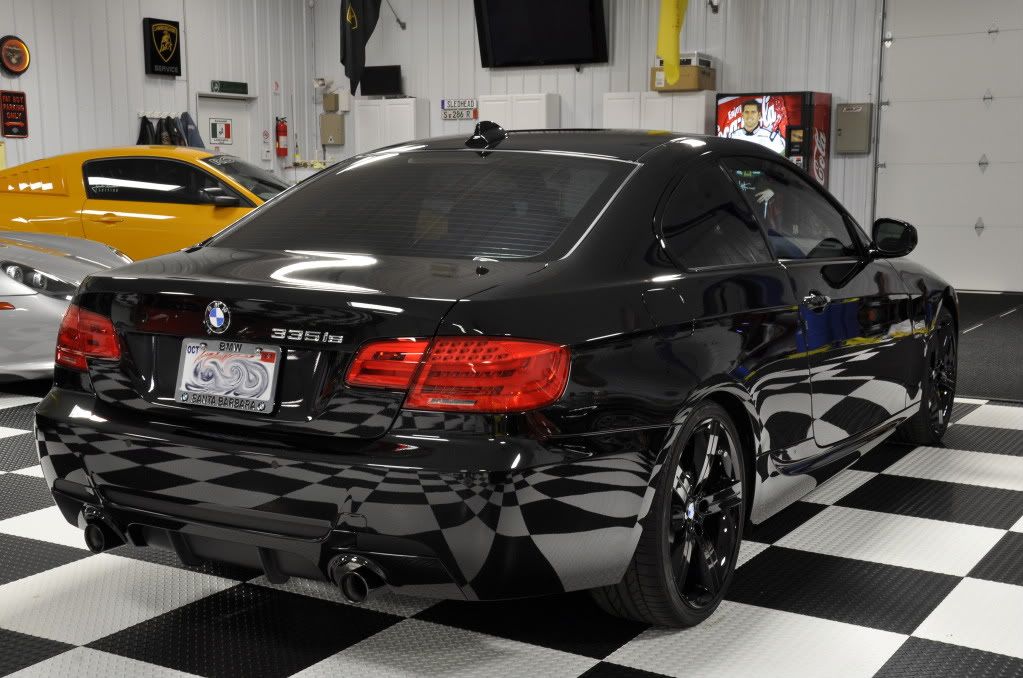
I started working my way around the car with my orange pad using M105. All of the swirls were coming out but I still had those deeper ones in the paint. Once I was done compounding I inspected the paint. Besides the deeper defects it looked perfect. There were no marks left over from the orange pad and M105 that I could see. I still wanted to get more gloss out of the paint so I moved on to polishing using a white pad and M205 with my PC. When I was done I noticed some areas that I wasnât happy with so quickly hit them with the surbuf to see if I could improve on them. It helped a little but was not perfect. After I was done polishing I did a 50/50 Alcohol wipe down to remove the left over compound and polish. Here is what the paint looked like.
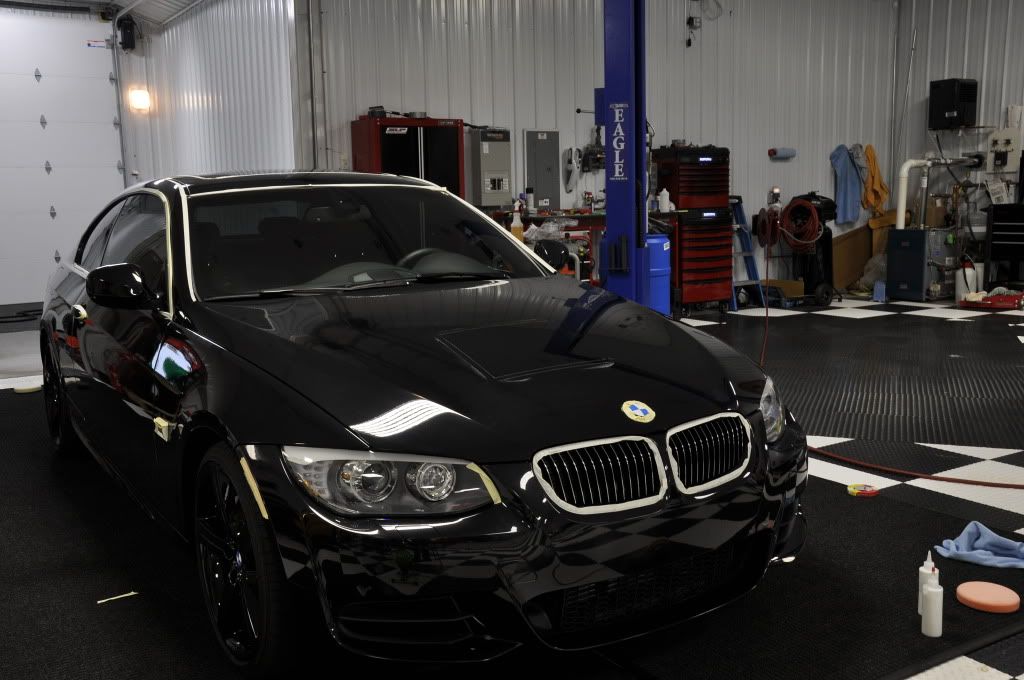
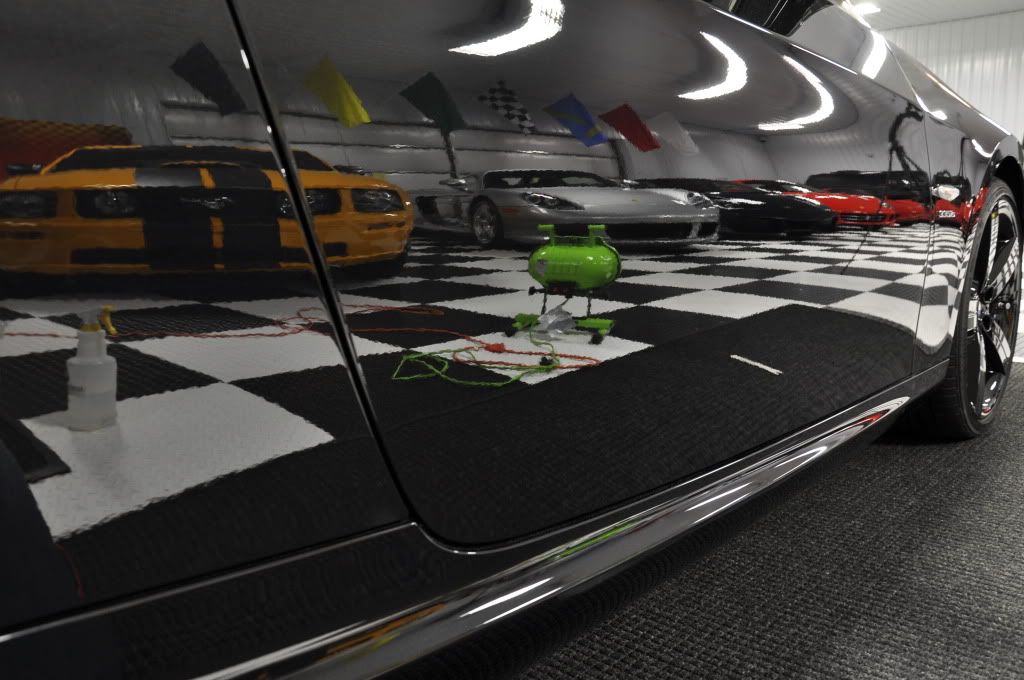
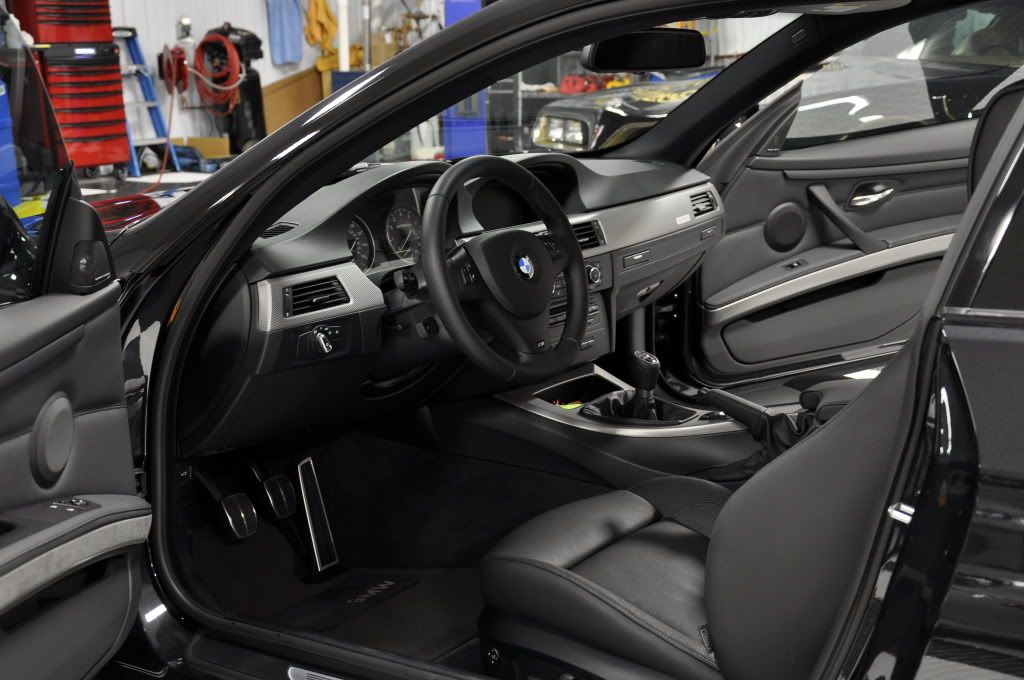
Once I was done compounding I sealed the car with Chemical Guys Blacklight. This stuff is amazing and really brings the gloss out. After I got done sealing and cleaning up the outside I moved to the inside. I just did a basic detail on the inside since it was not that bad. I then moved back outside and waxed the wheels with Optimum Spray wax.
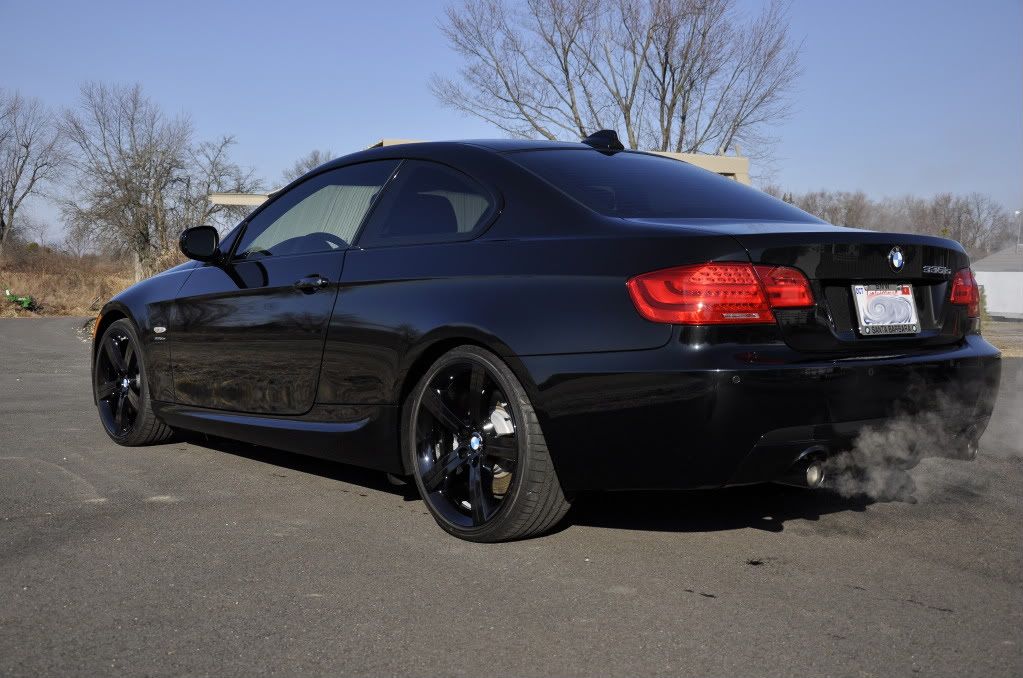
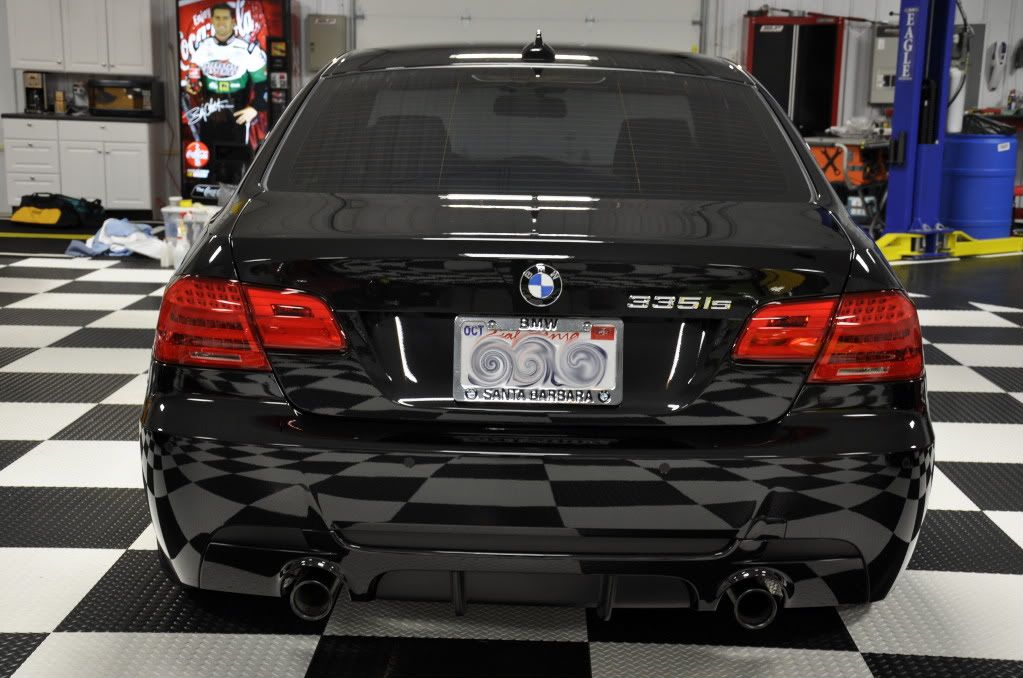
After I was done with the car it looked a thousand times better than when I started and Iâm sure the customer will be happy with the work. When I pulled the car out into the sun I got to really see what it looked like. If you got in the right angle you could still see the deeper defects in direct sunlight. I was a little disappointed in this but realized that most people wouldnât even notice them. Here are some shots after I was done and some shots out in the sun.
I learned two valuable lessons on this detail. One is to evaluate what the customer is looking for and give them that. Donât spend hours chasing down little defects unless the customer wants 100 percent correction, which is hard to do anyways. If he/she is happy with what you say you can do then just do that. Never promise more than what you can accomplish. Two was that BMW paint can be extremely hard so unless I want to spend a week on the car just get out what I can with a reasonable system and a reasonable amount of time. That is as long as the customer is happy with this.
Hope you all enjoyed!!!
Results 1 to 2 of 2
-
03-01-2011, 04:38 PM #1


- Join Date
- Dec 2010
- Posts
- 57
- Post Thanks / Like

-
03-02-2011, 11:28 AM #2
- Join Date
- Feb 2009
- Posts
- 1,434
- Post Thanks / Like
Good work and some good lessons learned too. Looks like an awesome shop to work in!


 Reply With Quote
Thread Information
Users Browsing this Thread
There are currently 1 users browsing this thread. (0 members and 1 guests)
Similar Threads
-
BMW 335si full chemical guys detail
By luv a shine in forum Click & Brag -The Detailers ShowcaseReplies: 1Last Post: 04-03-2013, 07:24 AM -
Good Guys Detailing - Paint Correction Detail on Graham Rahal`s Porsche Carrera GT
By good guys in forum Click & Brag -The Detailers ShowcaseReplies: 9Last Post: 08-19-2012, 02:18 PM -
Esoteric Auto Detailing and Good Guys Detailing - 4 Lamborghini Paint Correction jobs
By good guys in forum Click & Brag -The Detailers ShowcaseReplies: 15Last Post: 09-21-2011, 05:17 PM -
Good Guys - Paint Correction on Black Metalic Audi R8
By good guys in forum Click & Brag -The Detailers ShowcaseReplies: 8Last Post: 03-16-2011, 04:39 PM -
Washing question on Black Metalic paint
By imported_pdsterns in forum Car DetailingReplies: 14Last Post: 11-15-2005, 07:30 AM
Bookmarks