Thomas Dekany
New member
Weekly details, nothing special.
qew
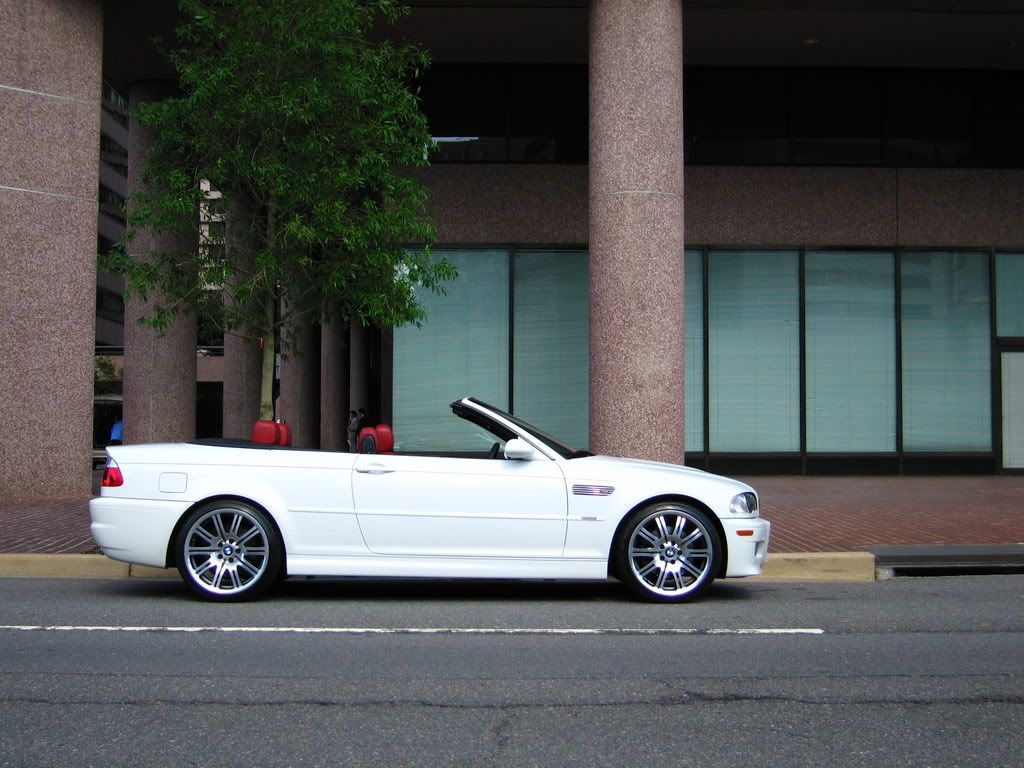
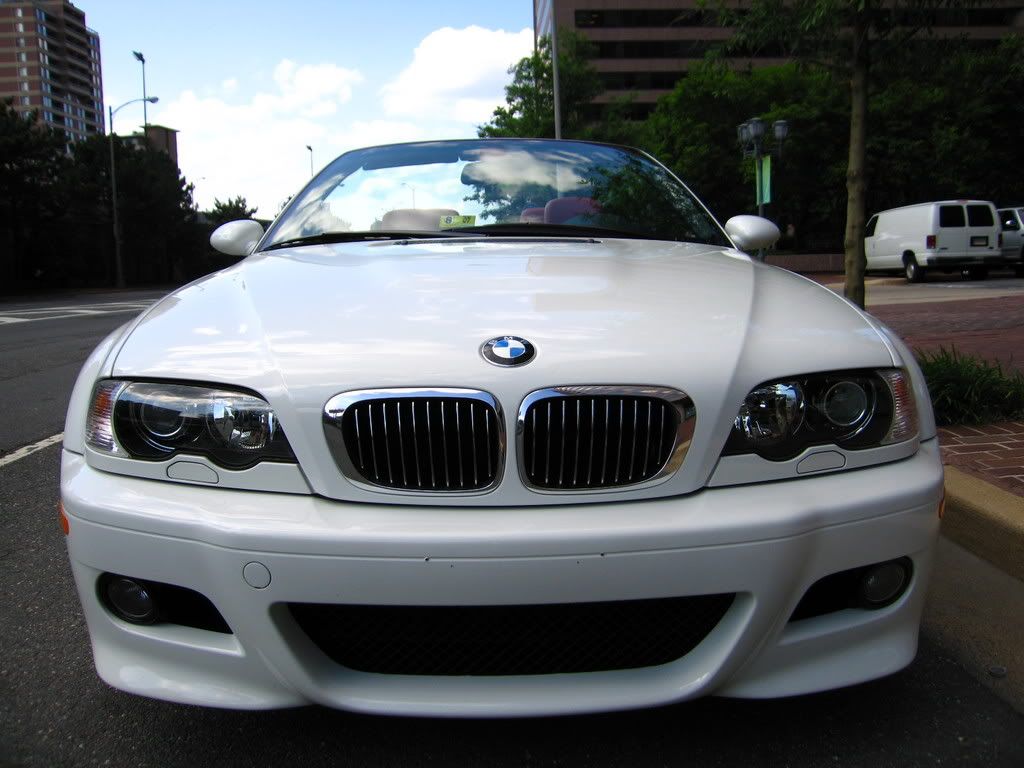
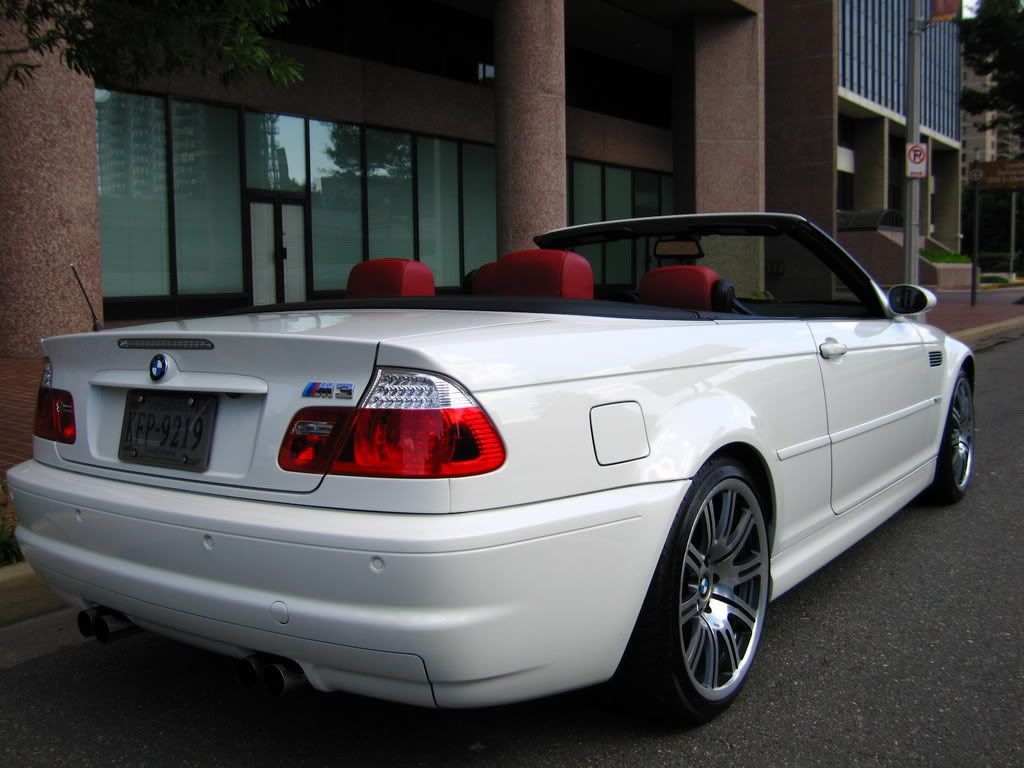
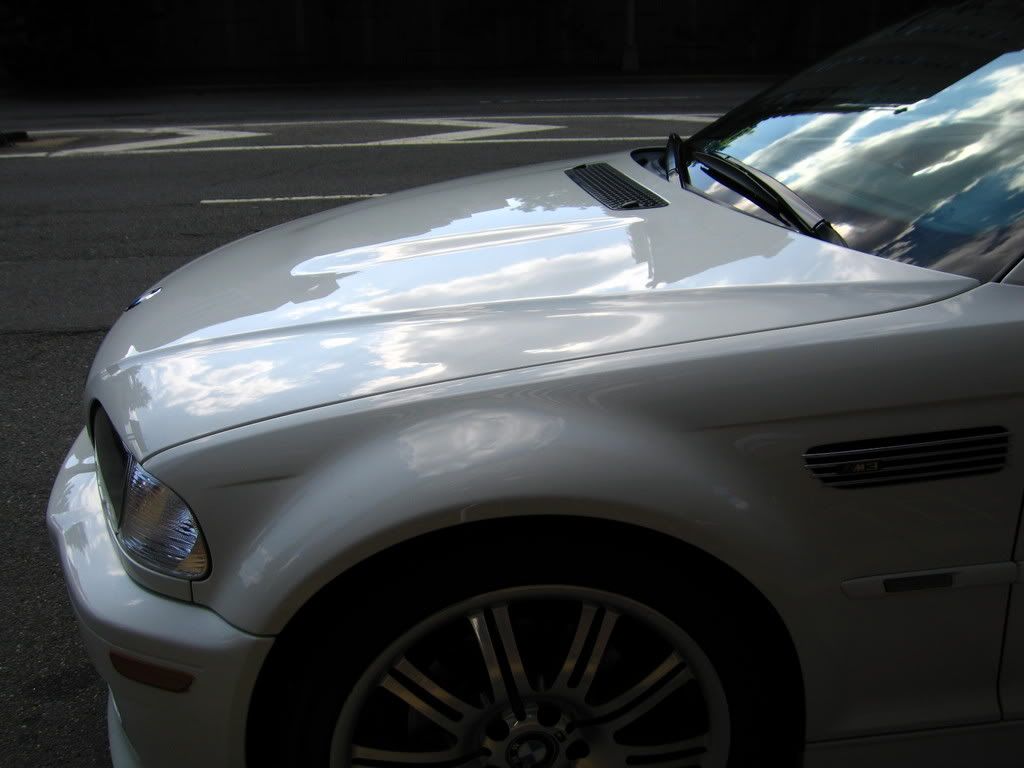
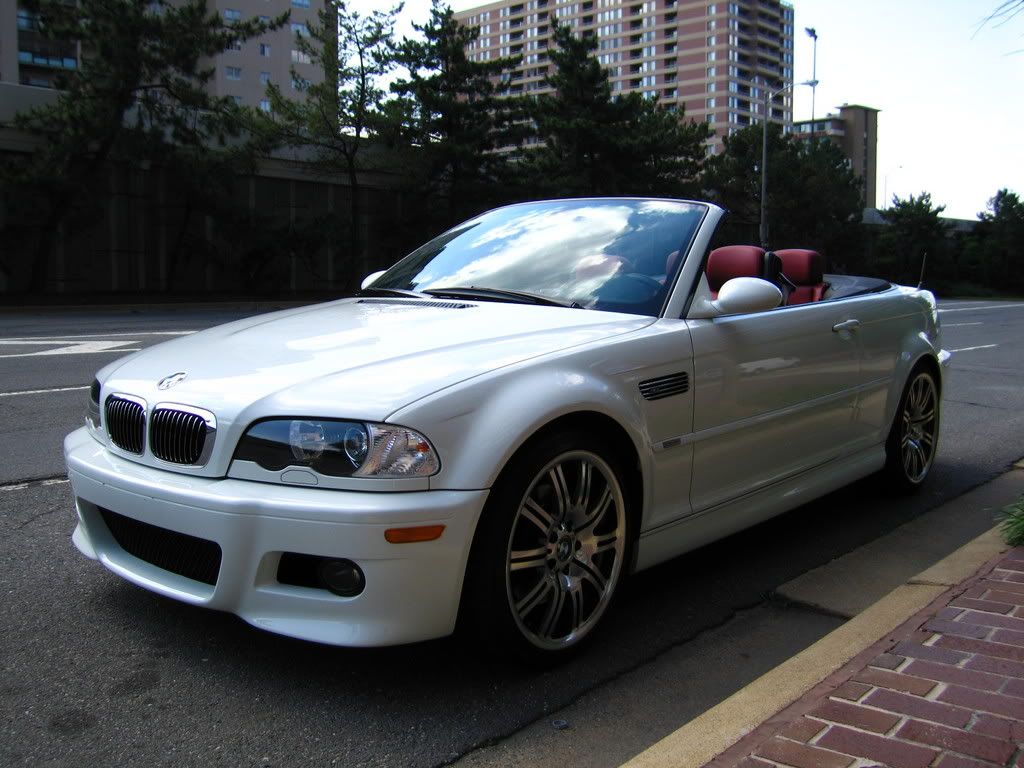
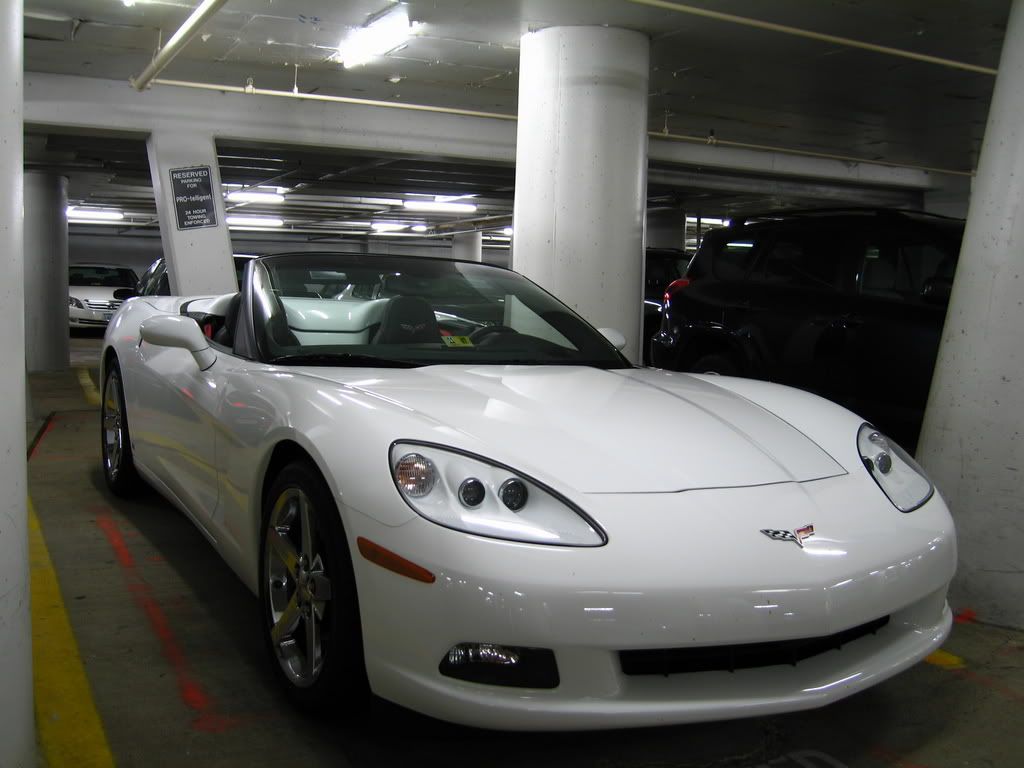
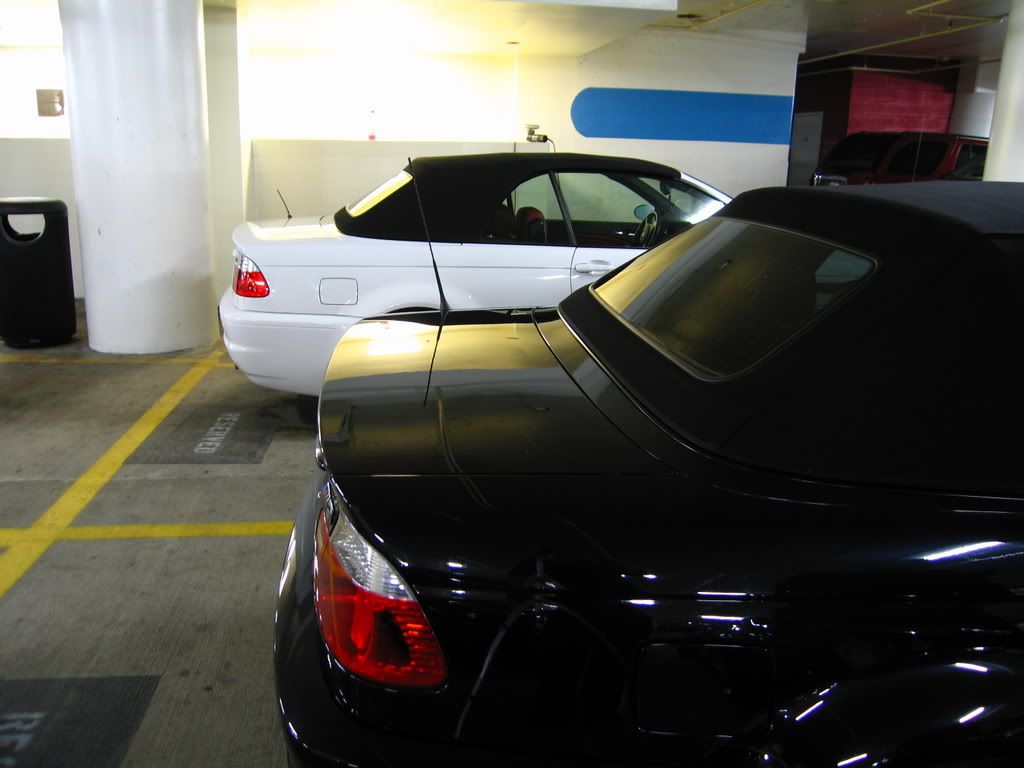
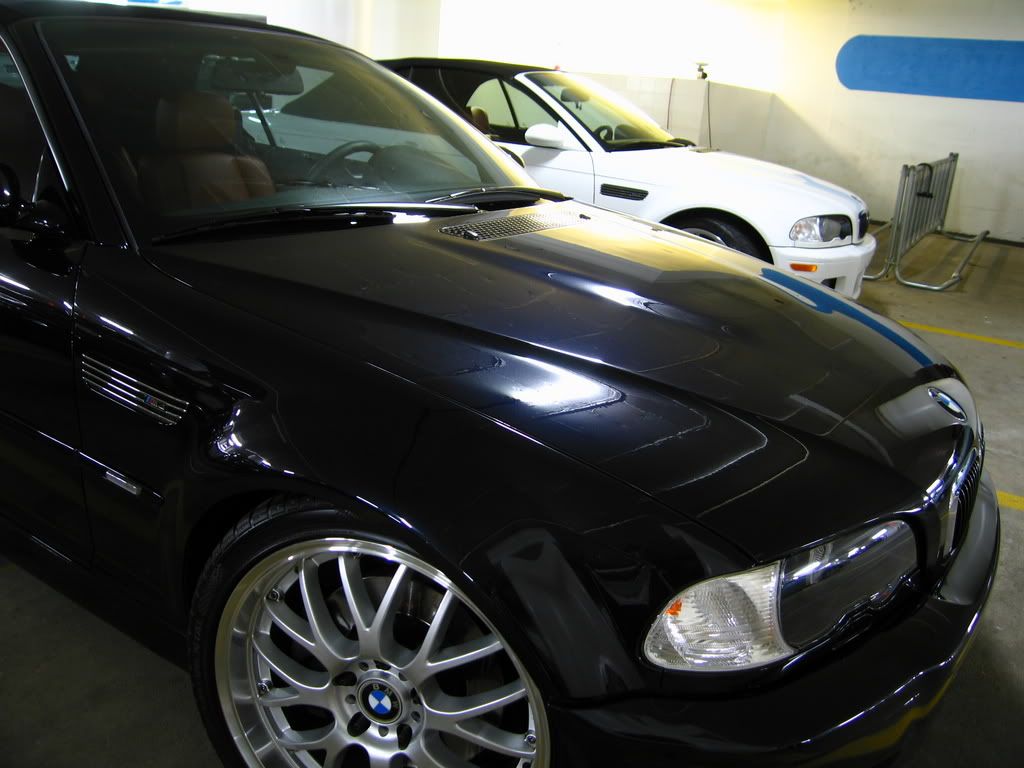
Z8
Z16 0n tires
PS: This was done yesterday and last night on the way home some bugs got attached to the front. They were Z6ed off after the pictures were taken.

qew
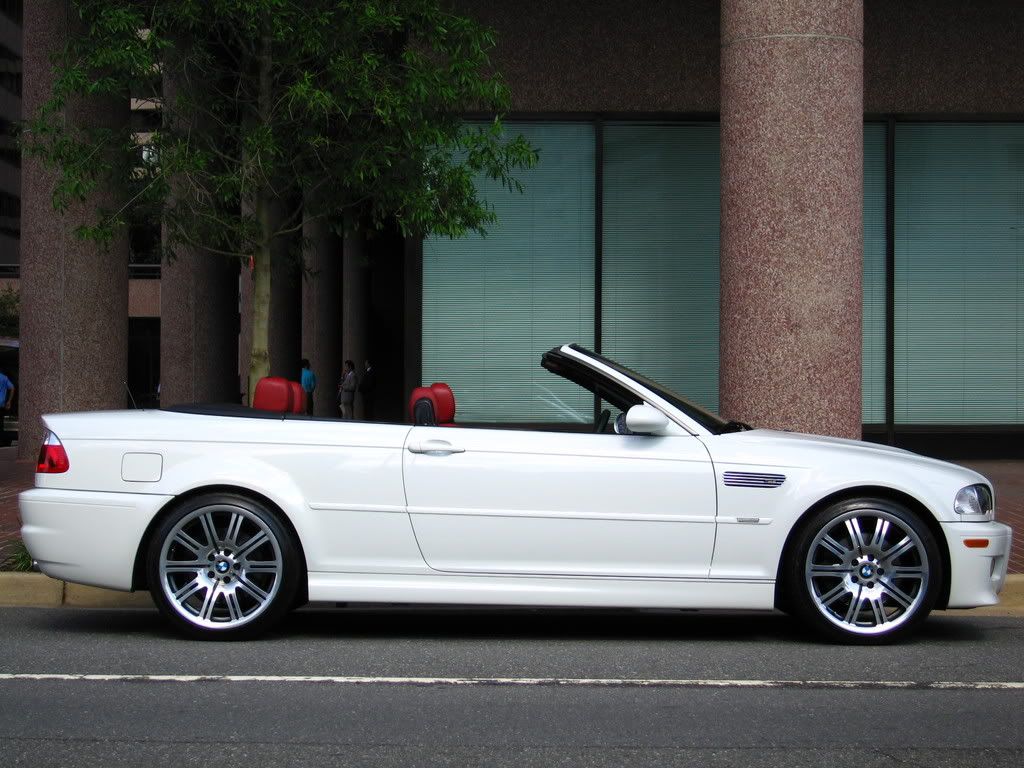
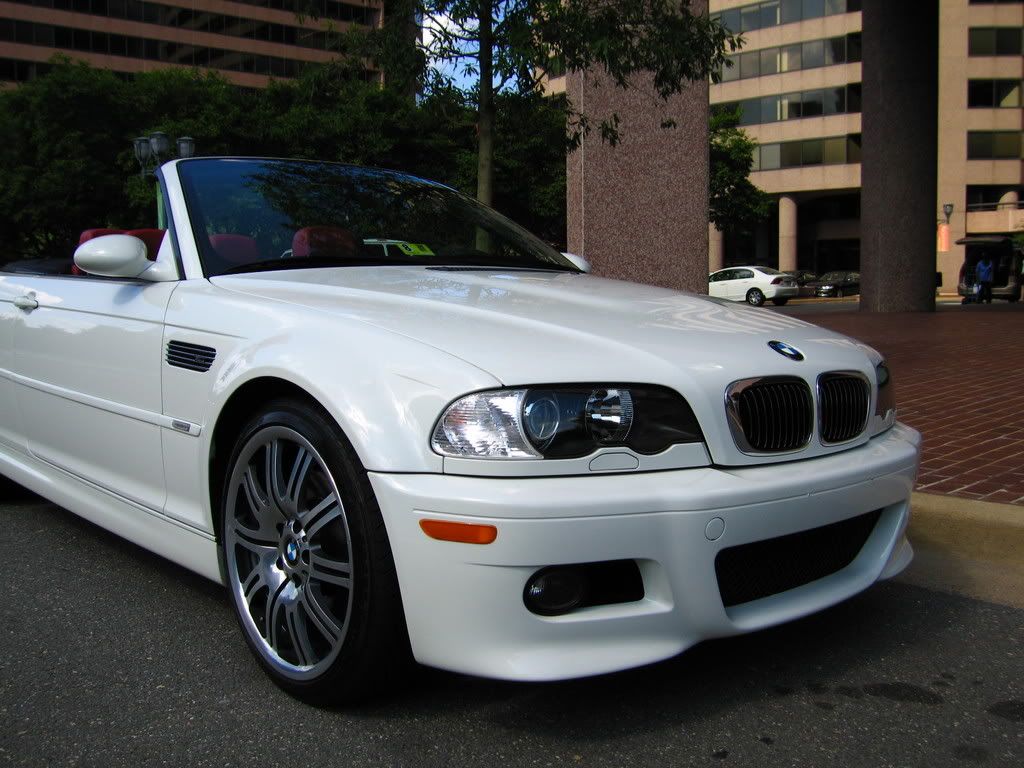
the black one has Poli Seal only while the white was polished with poli seal & topped with Z8
Z16 on tires
Leather was treated with Zaino in the white and NL in the black one.

qew
Z8
Z16 0n tires
PS: This was done yesterday and last night on the way home some bugs got attached to the front. They were Z6ed off after the pictures were taken.
qew
the black one has Poli Seal only while the white was polished with poli seal & topped with Z8
Z16 on tires
Leather was treated with Zaino in the white and NL in the black one.